
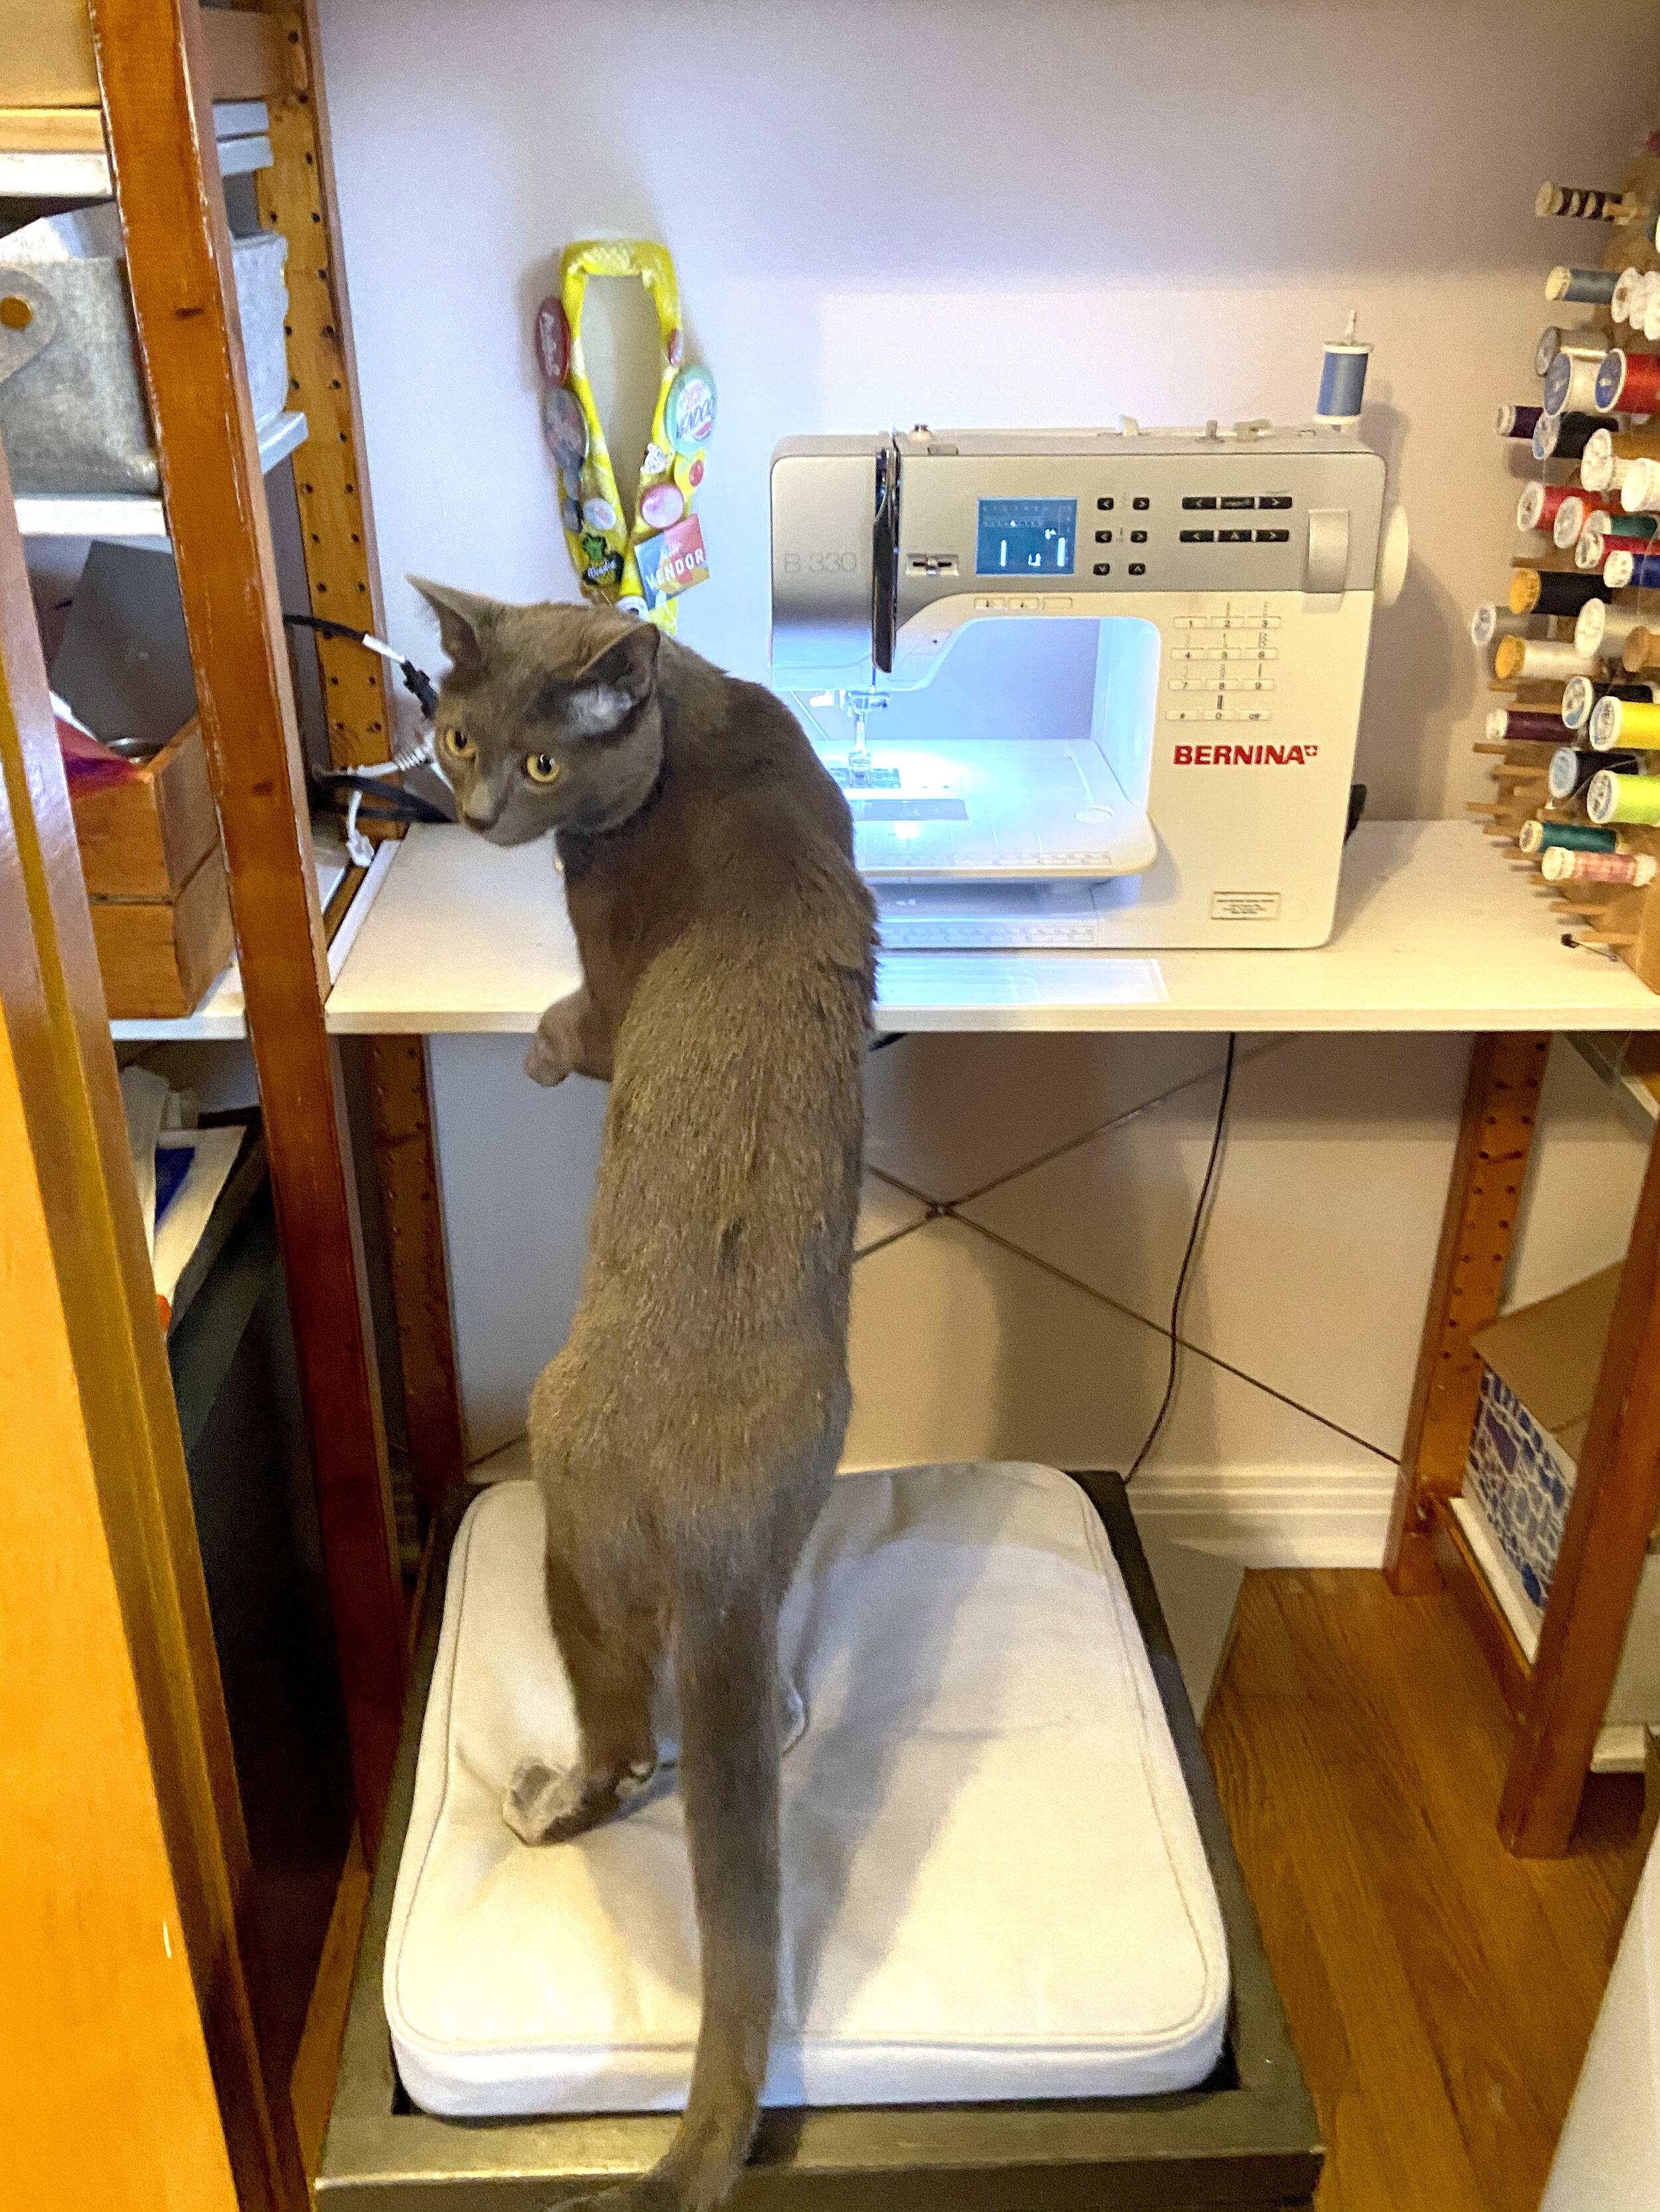
While we’re all stuck at home, we here at (virtual) Cold Gold HQ have been looking for things to do to keep our hands and minds busy. We figure you’re probably doing the same, so we’d like to share some projects with you here that you can also do at home, with things you’ve likely already got around the house. To start, we looked to our sweet pets for inspiration and we’re going to show you how we made some catnip mouse toys for Cold Gold studio cats, Lando and Mochi. This is an easy project for even novice sewers - they certainly don’t have to be perfect!
Bonus: We made a plush toy for another kind of pet. Can you guess which animal it’s for? Scroll to the bottom for answers.
To make plushy catnip mousies, you will need:
-
Scrap fabric (you could use the scrap fabric you may have around after making COVID face masks. We used tie-dyed cotton.)
-
Sewing Machine (or a needle, if hand sewing)
-
Scissors
-
Straight pins
-
Thread
-
Yarn
-
Optional: Catnip for Kitty Cats
-
A Cat or two
-
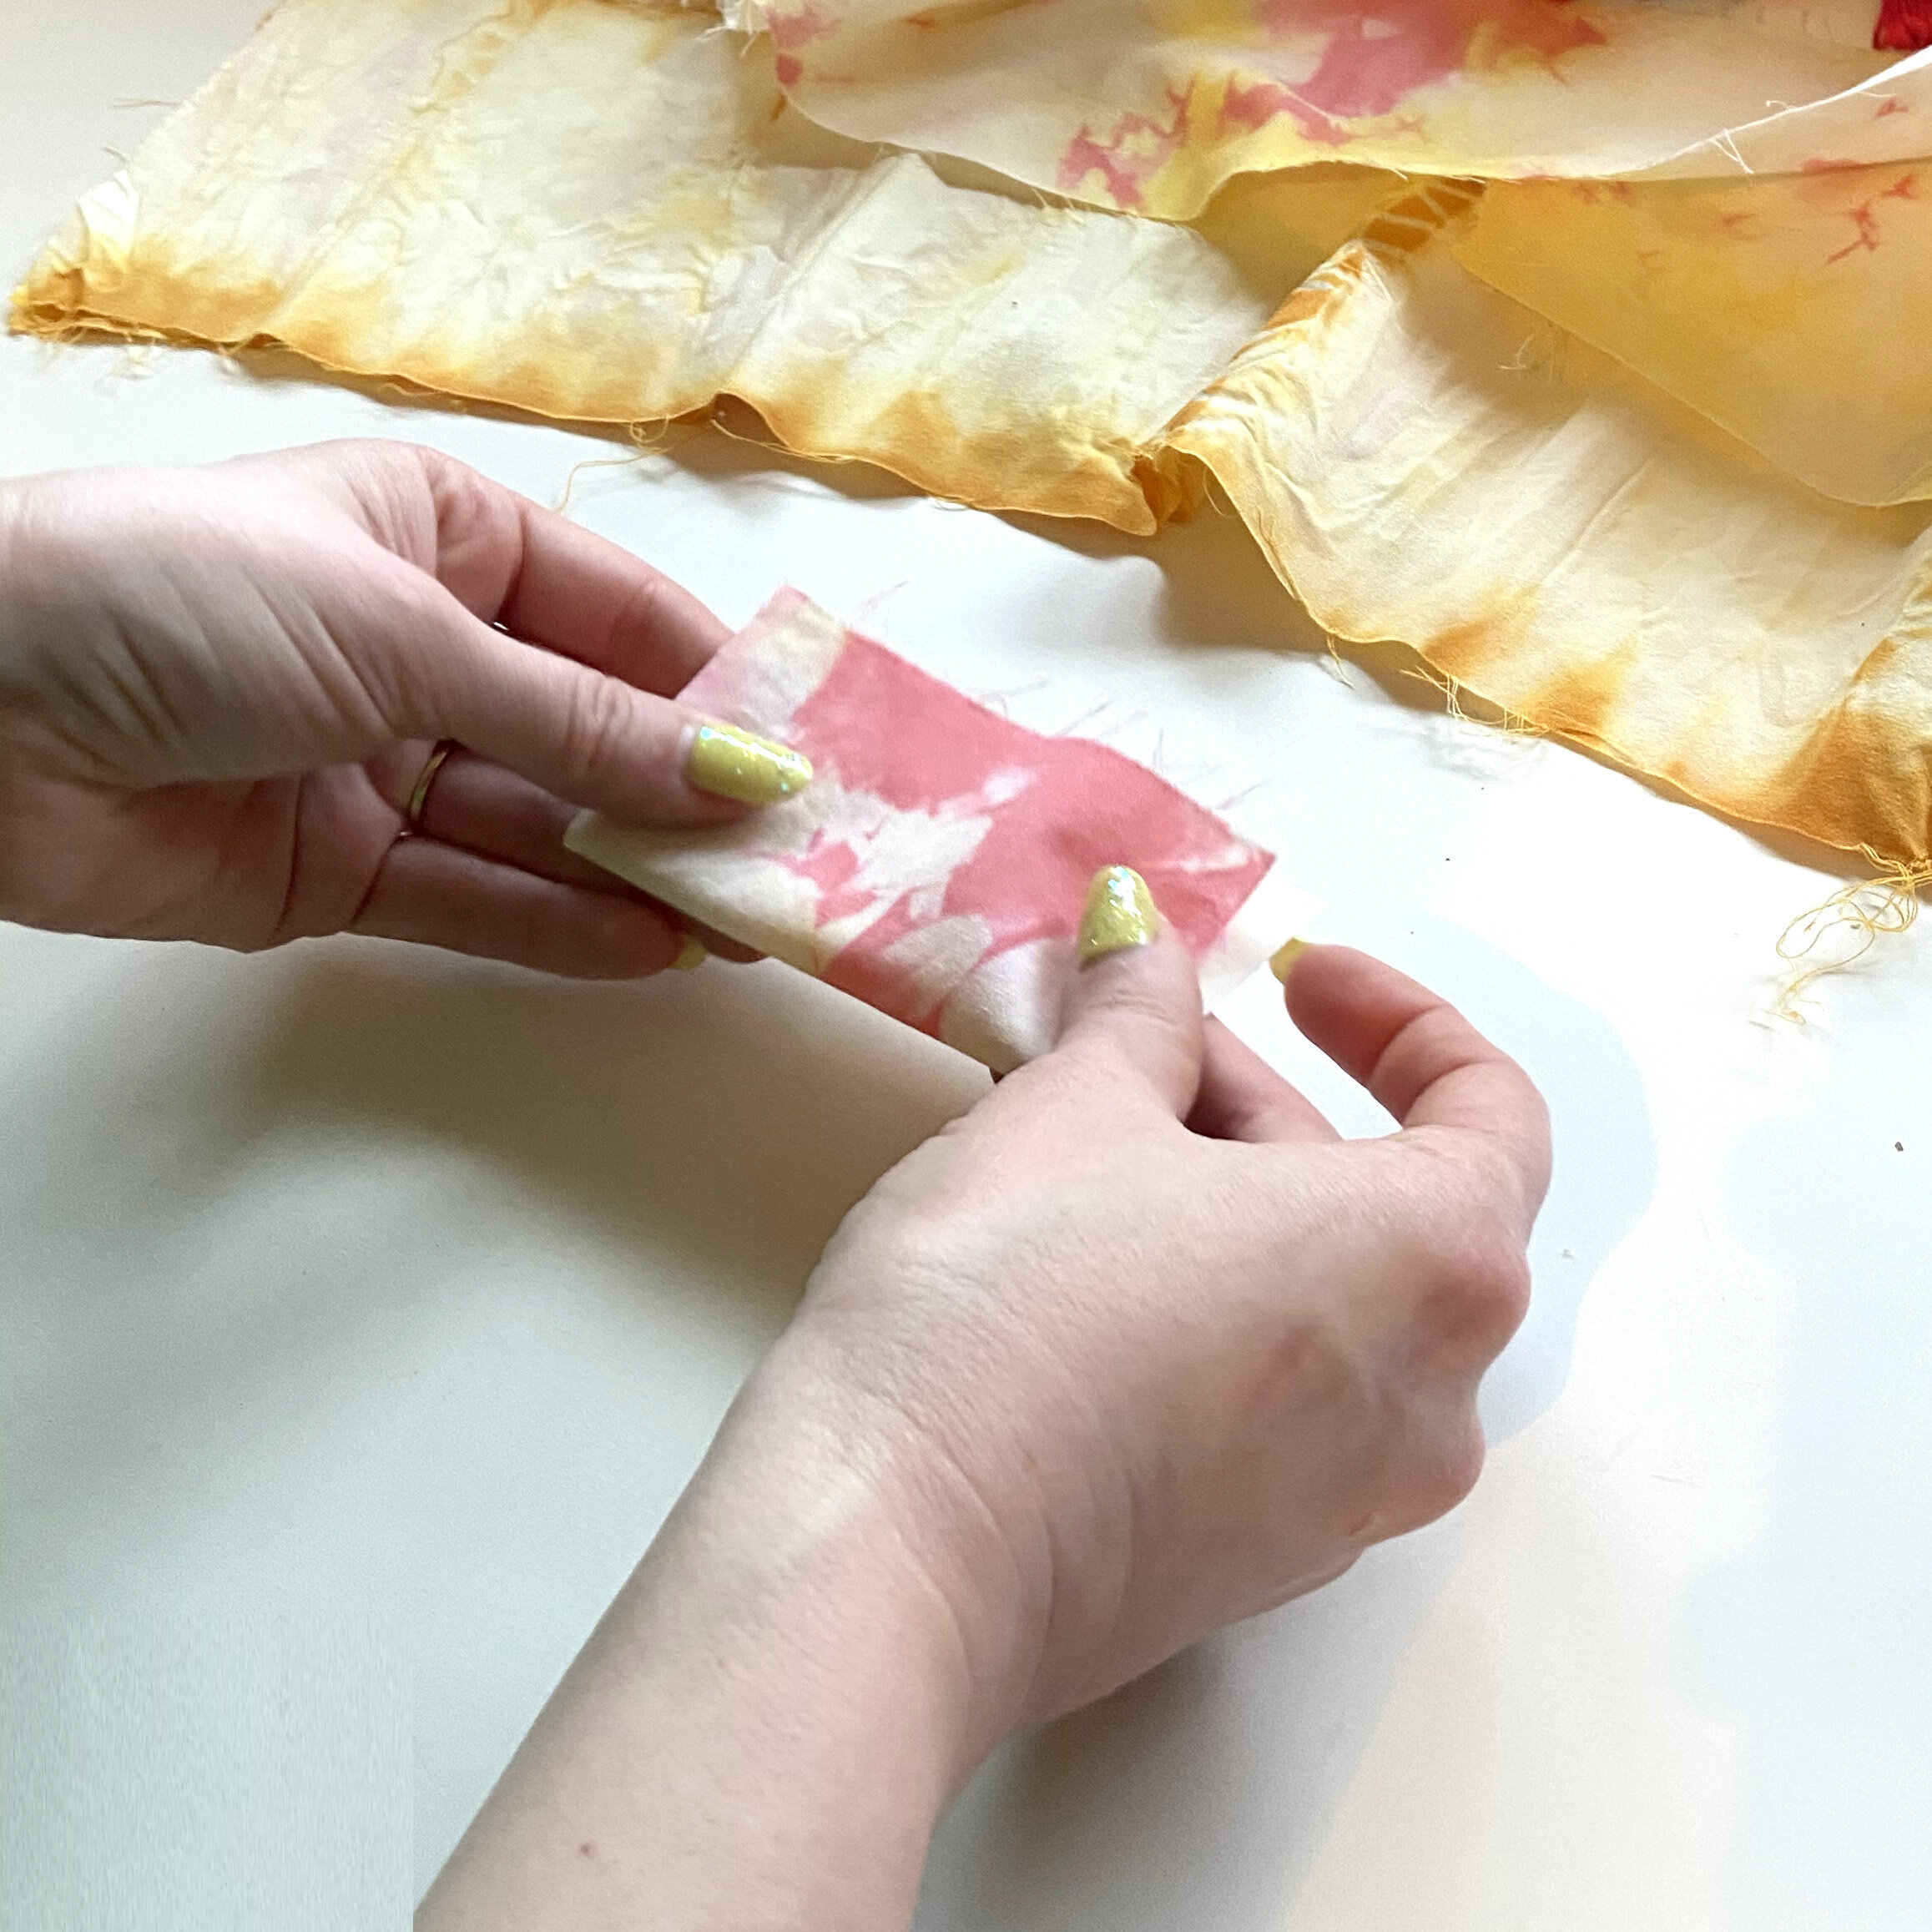
Layer two pieces of scrap fabric and fold in half, keeping in mind that we’re working inside out at this point. The fabric inside the fold will become the outside of the toy.
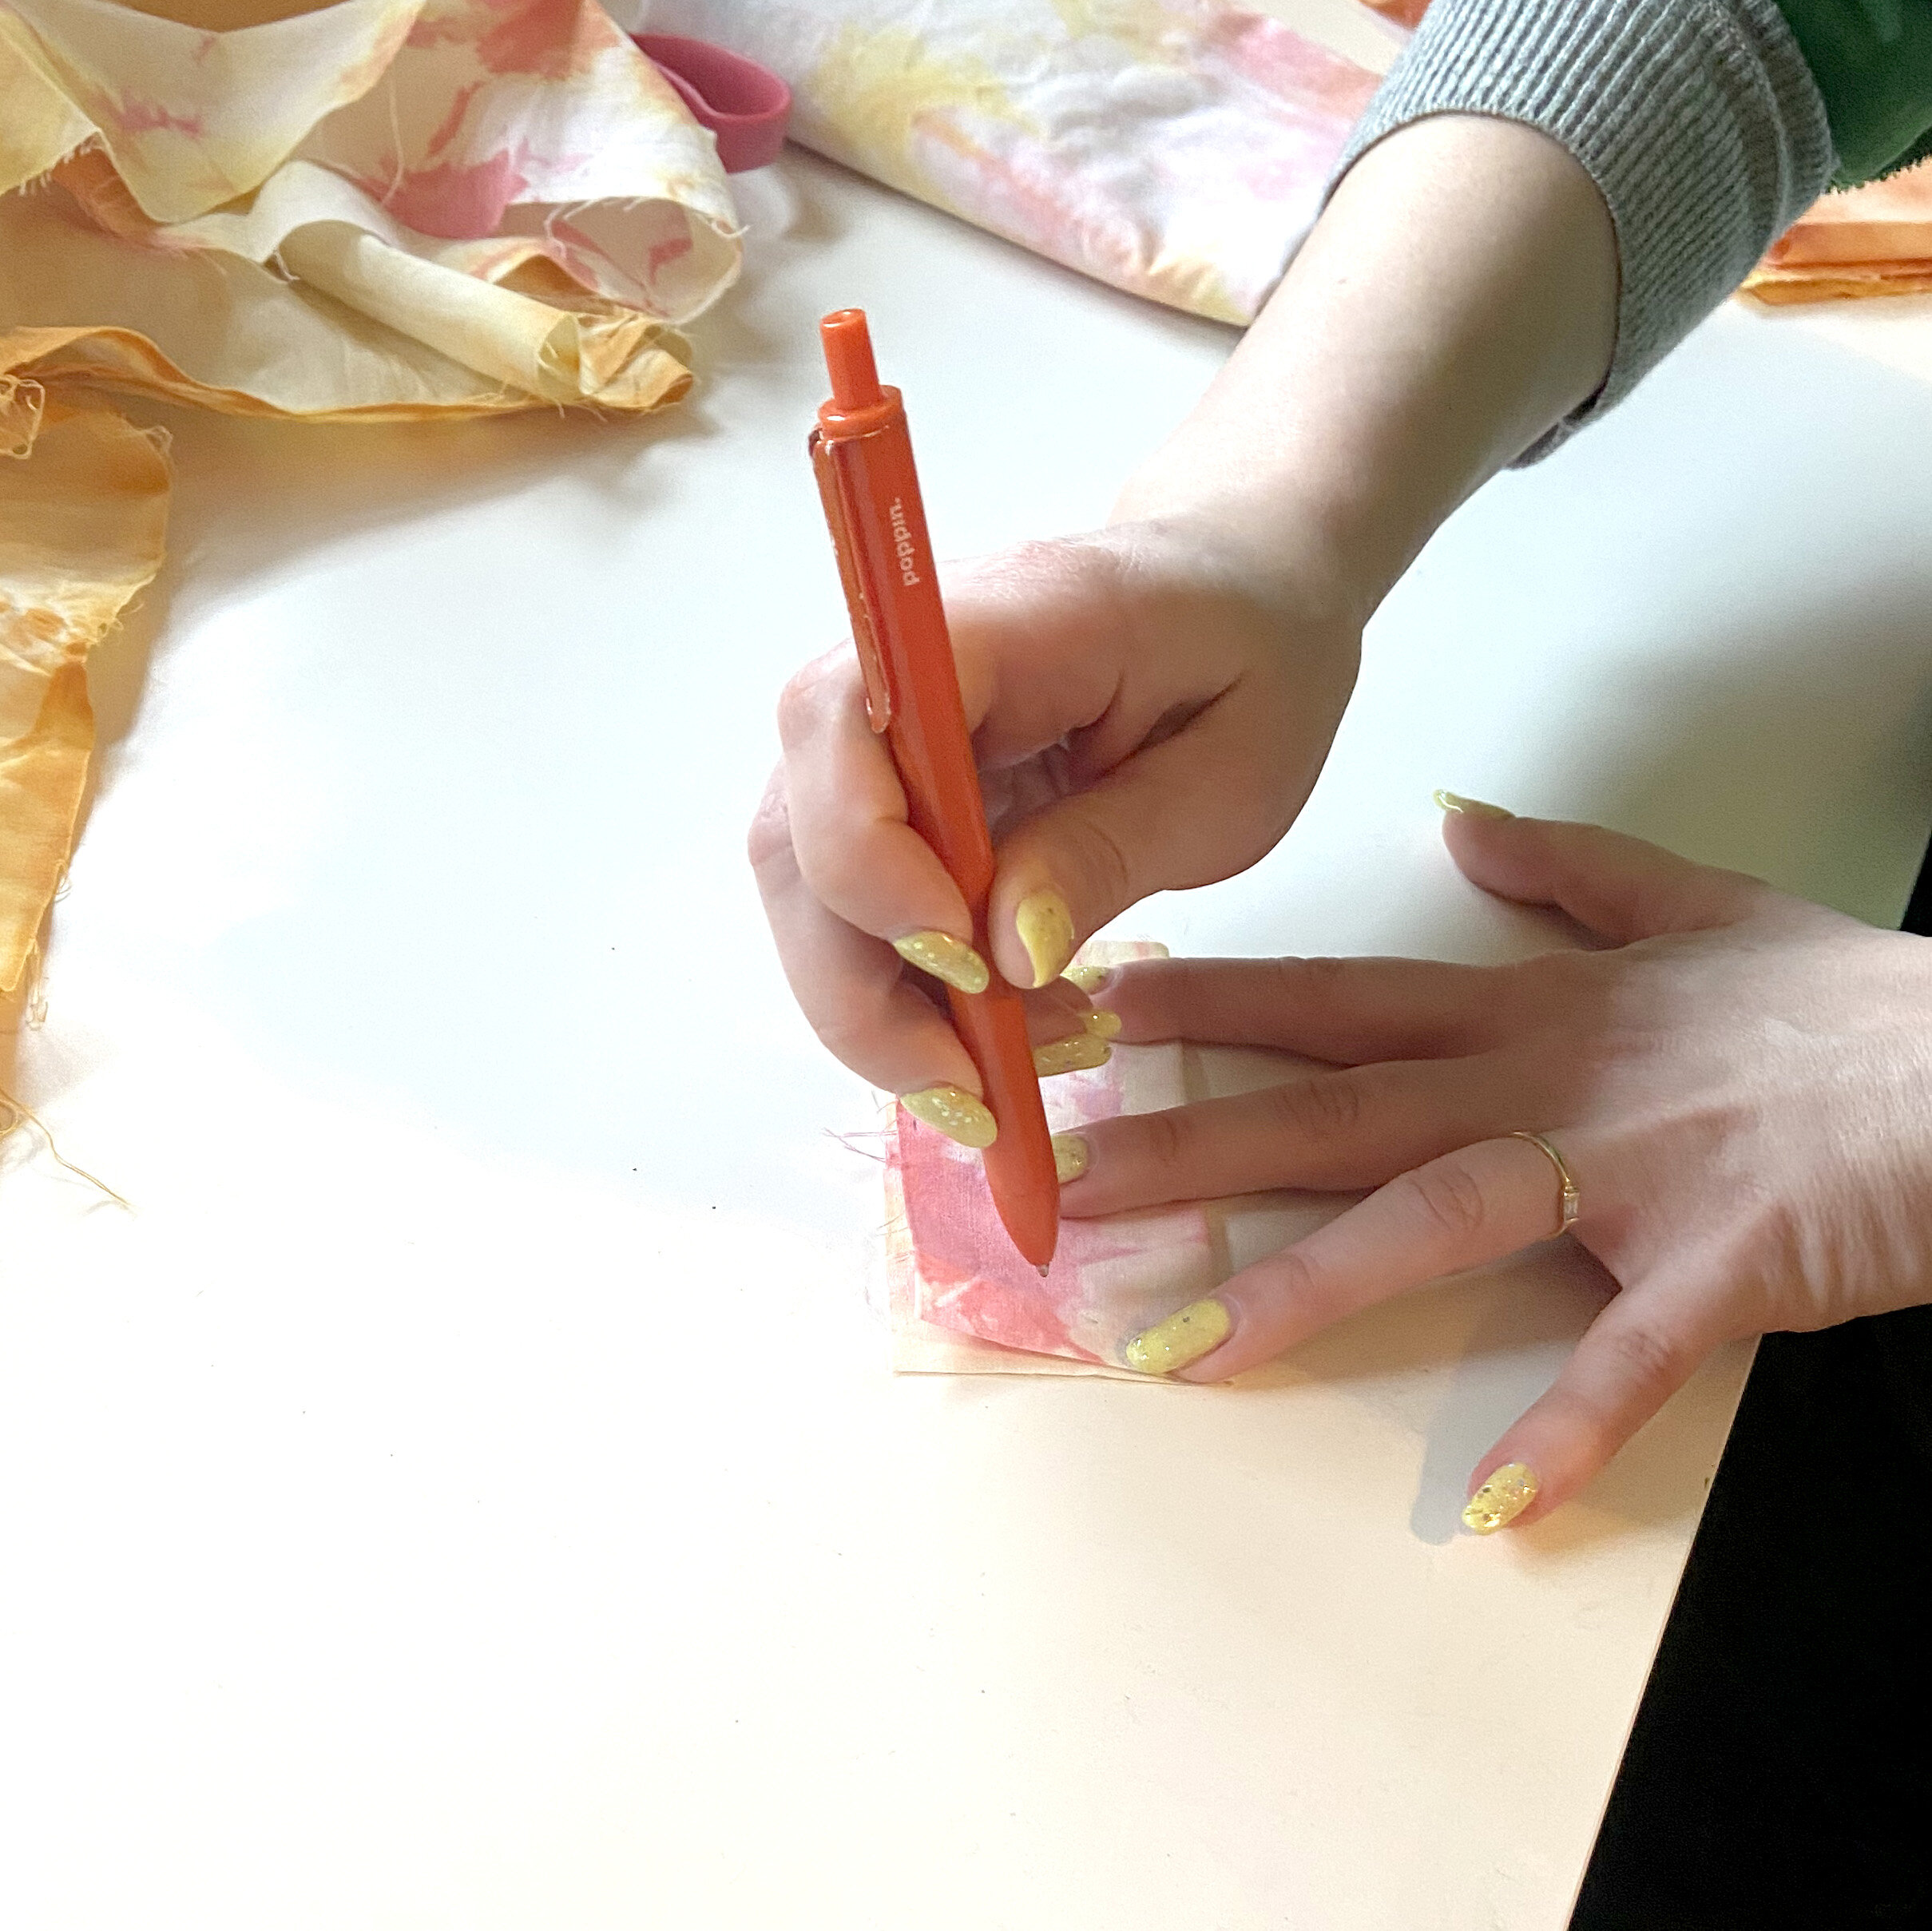
2. Using the fold as the bottom, mark out the outline of a semicircle on the fabric with a pen or fabric chalk - we made ours so the fold roughly measures 4 inches long, and from the fold to the top of the semicircle measures about 2 inches - no need to be perfectly accurate here. Use a couple of straight pins to keep your fabric folded together.
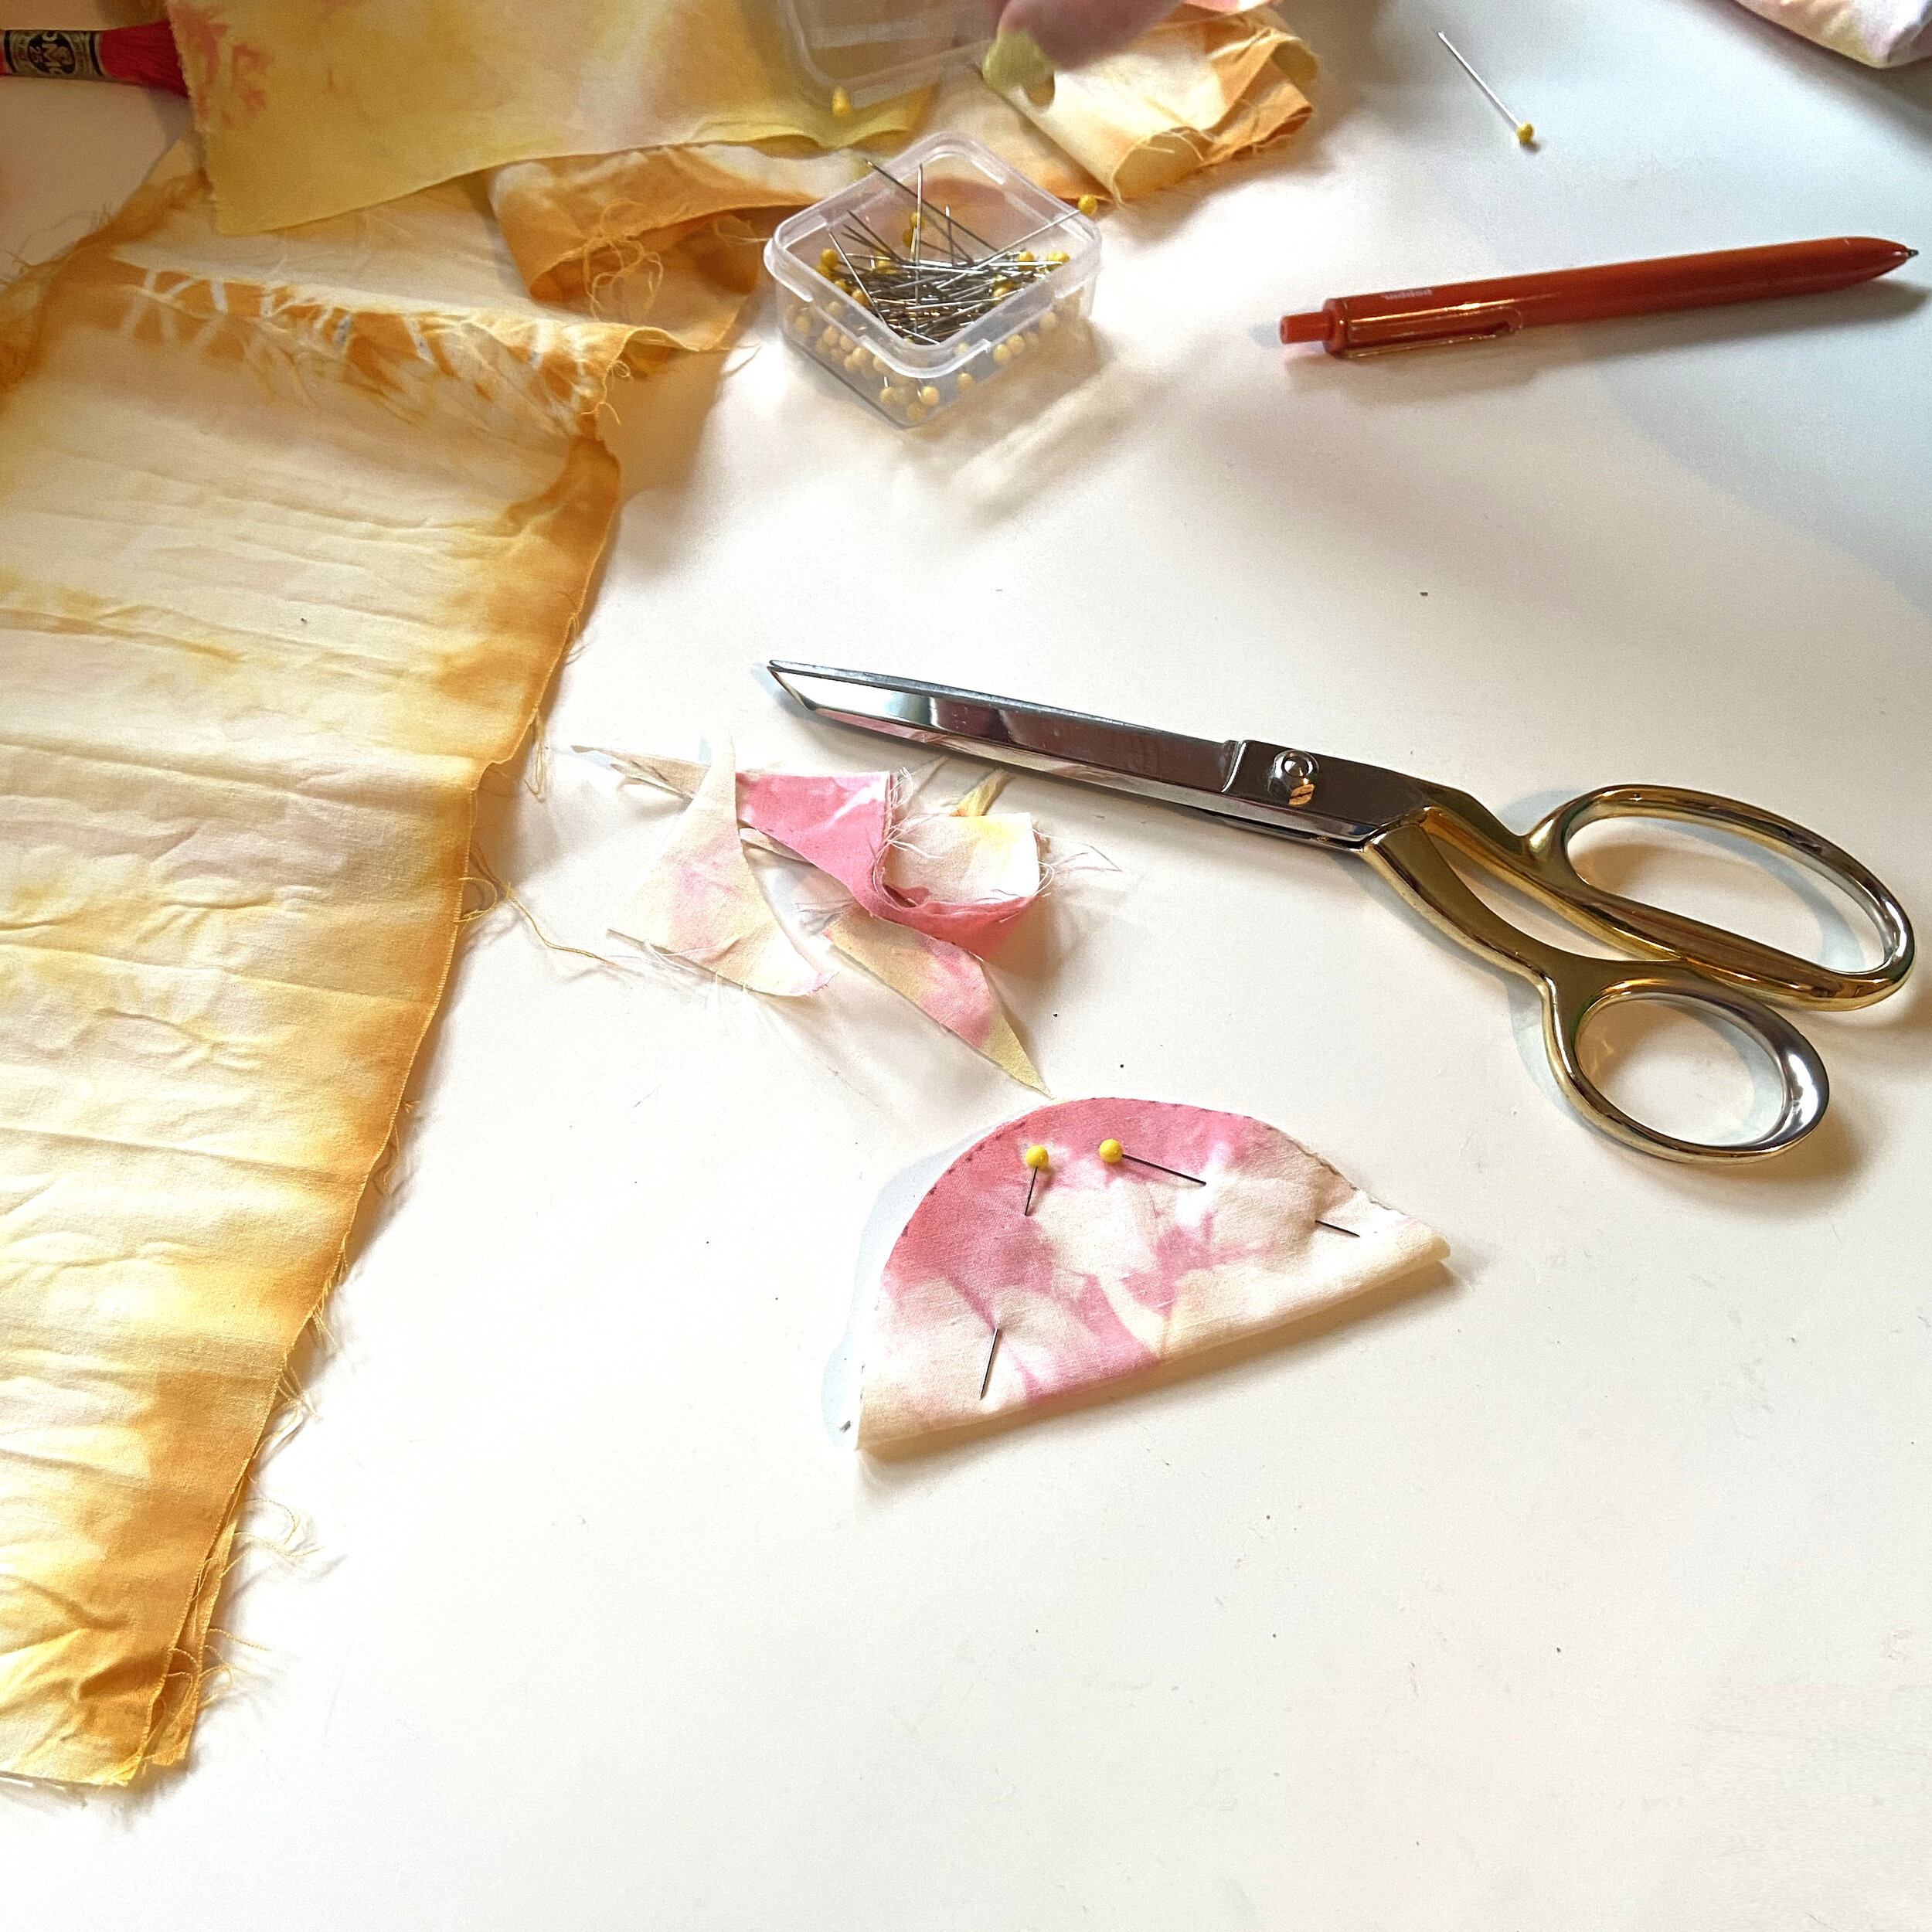
3. Cut along the semi-circle. If you were to unfold at this point, you’d have two complete fabric circles. Folding, they’ll resemble a taco!
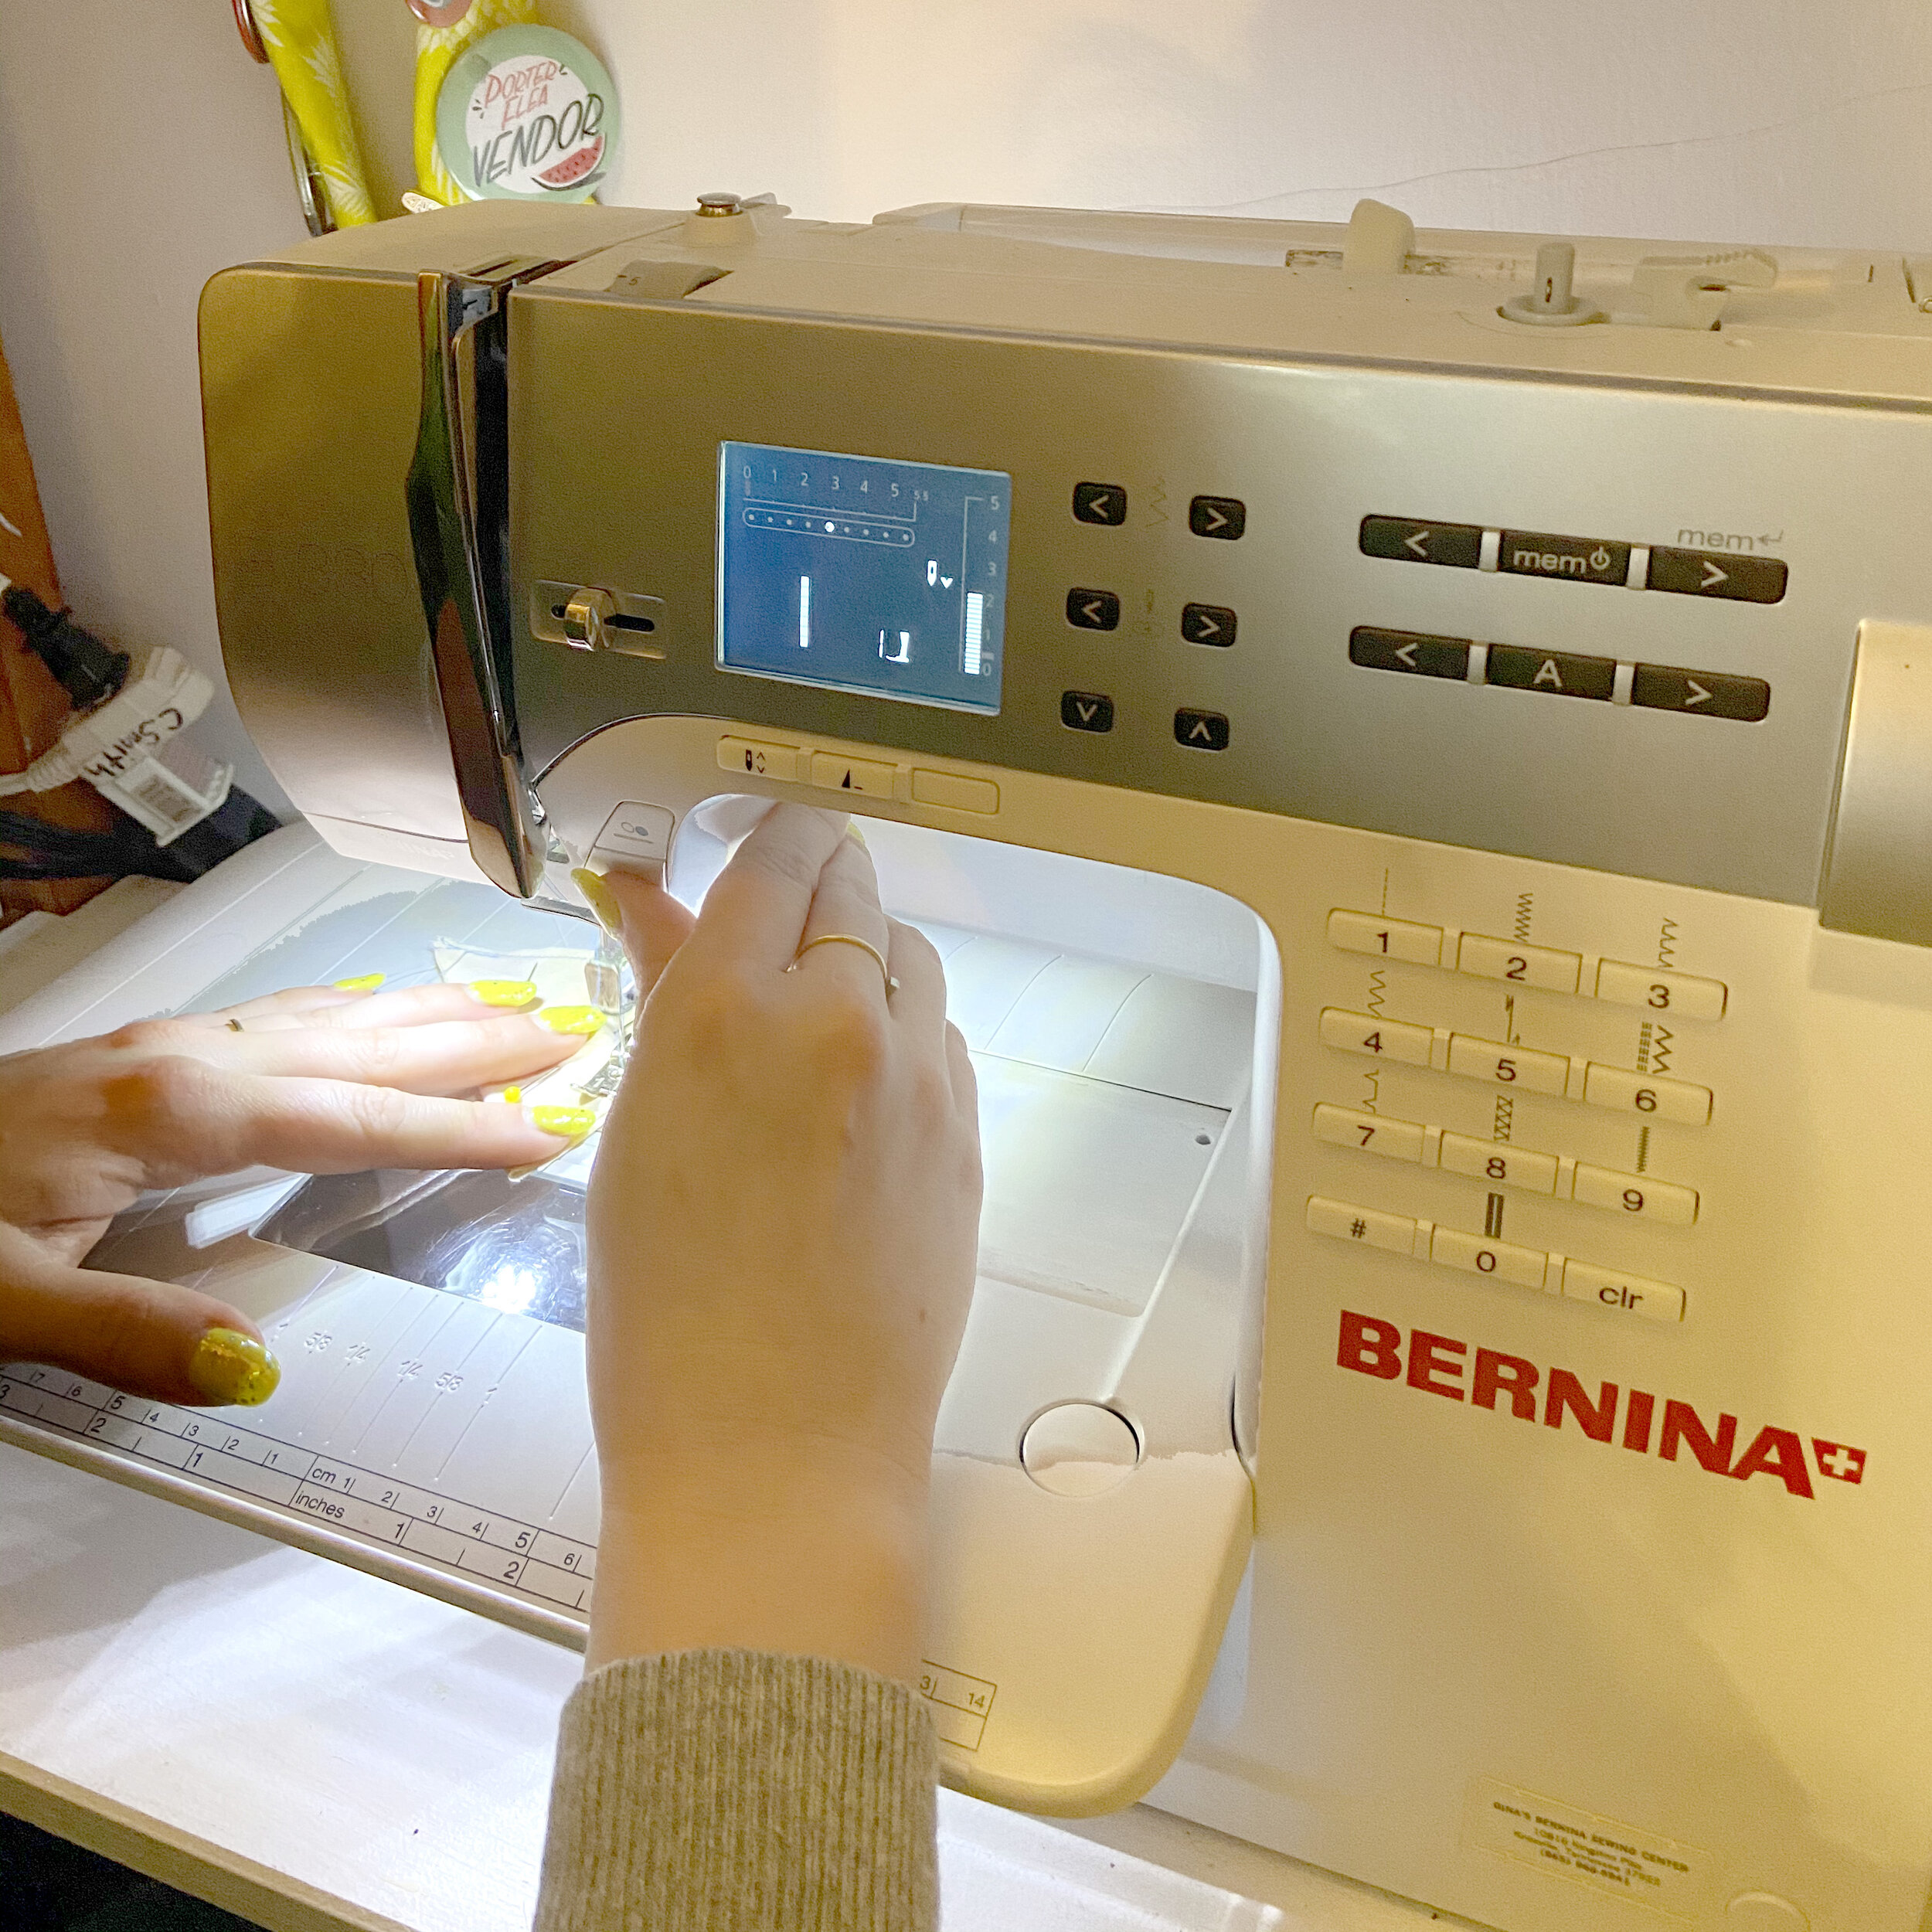
4. Using a sewing machine or hand stitch, sew around the edge of the semicircle leaving a 1.5’’ opening on one end (big enough to turn the fabric inside out). Make sure to sew through both layers of fabric!
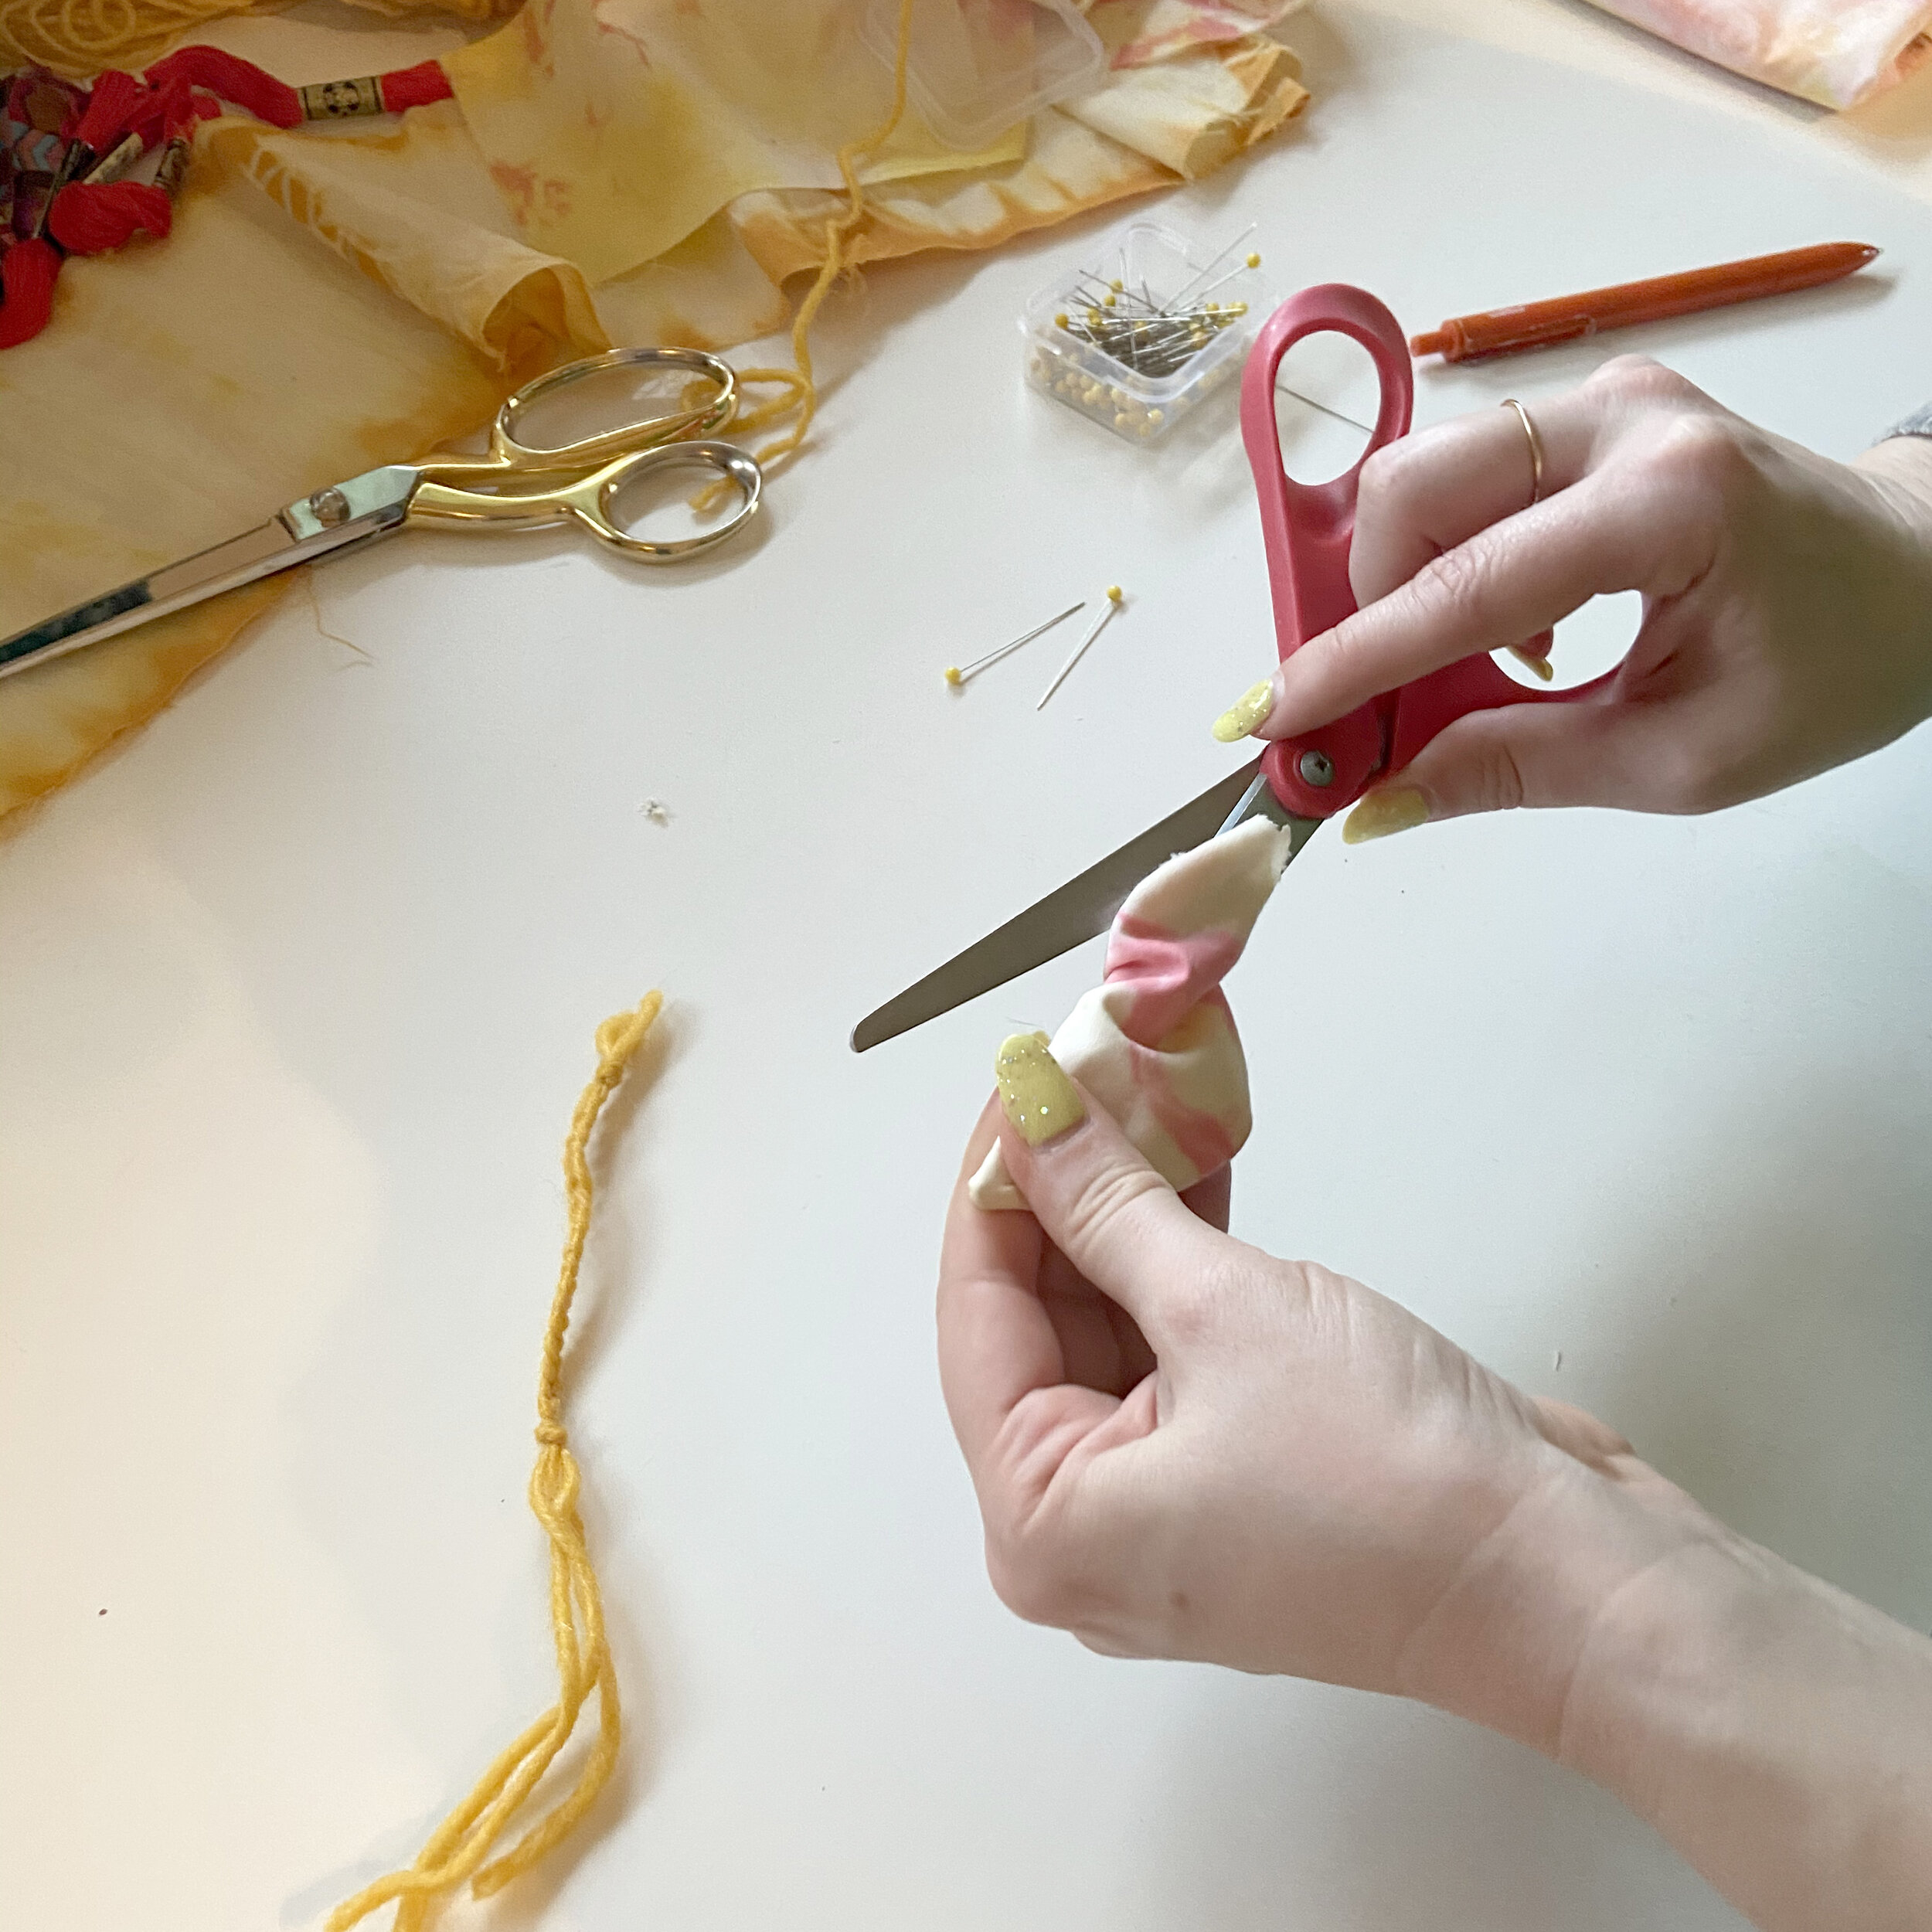
5. Trim the corners of the fabric diagonally- this will ensure that the corners aren’t lumpy at the end. Flip the fabric right side out, using your scissors or a pen to straighten out stubborn corners (so the mousey has a distinct little snout at the end).
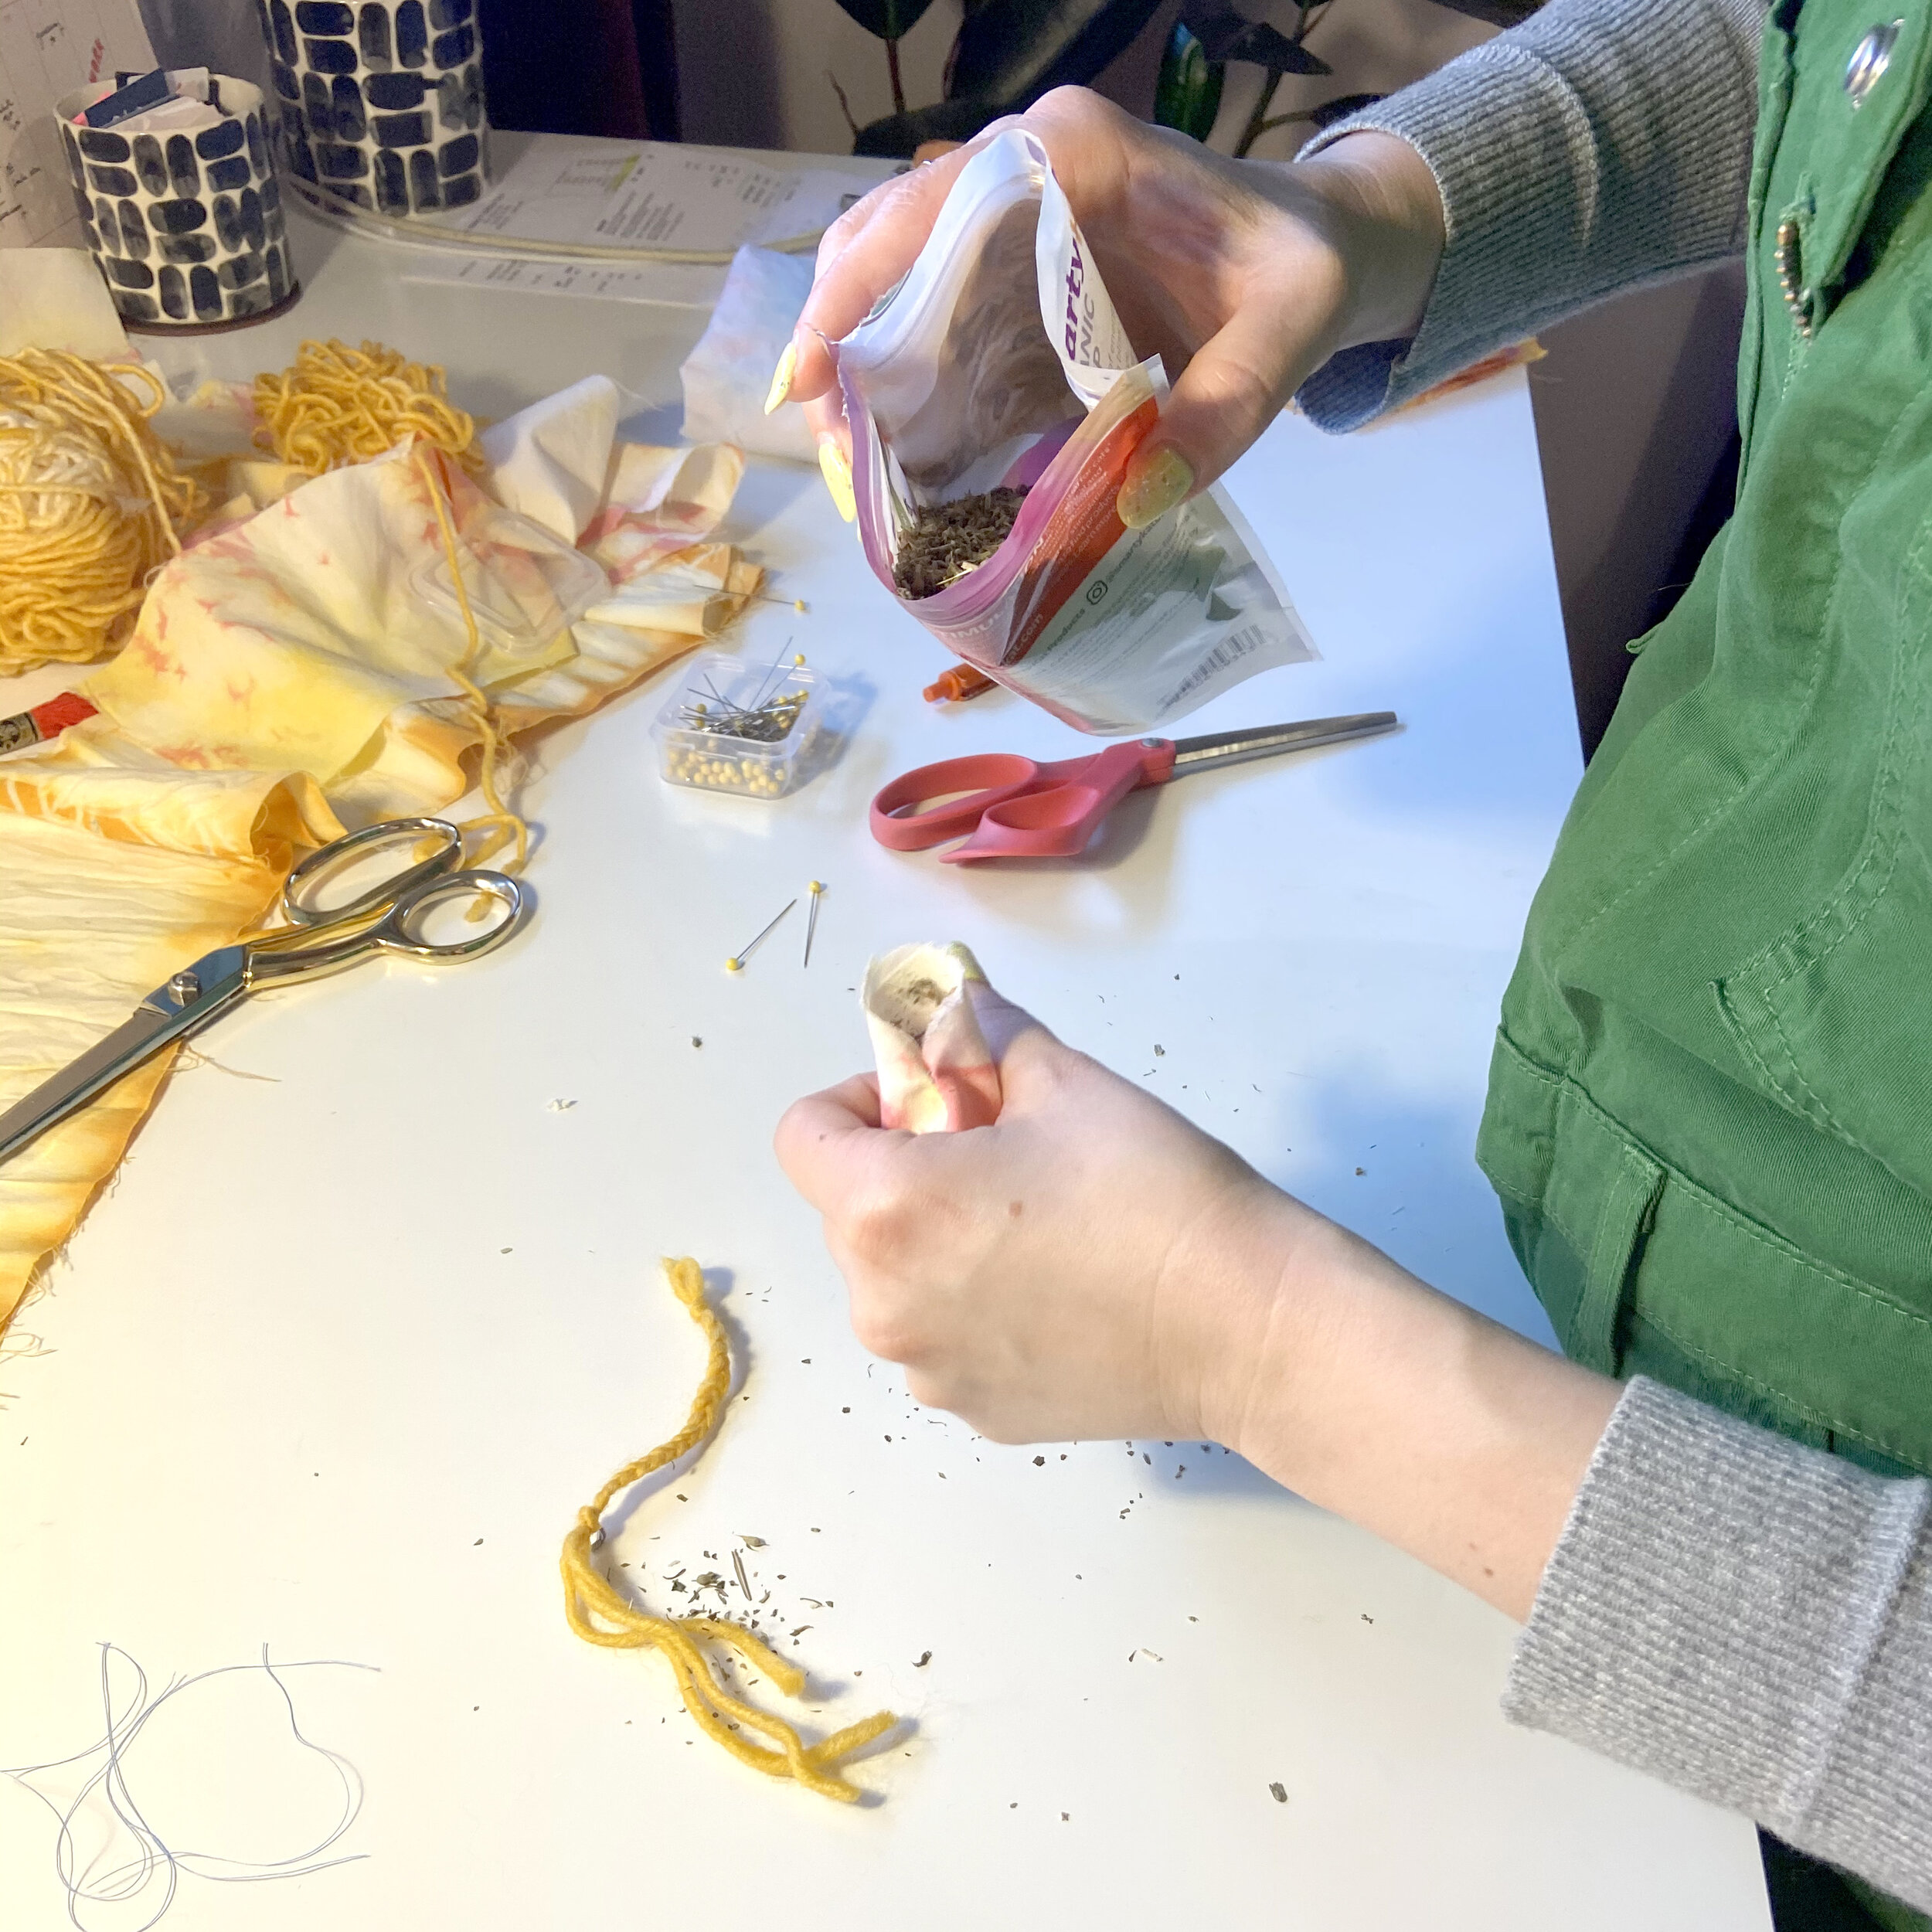
6. Using offcuts of your scrap fabric, extra yarn, or batting, stuff the toy to desired plumpness. Optional - funnel in some catnip.
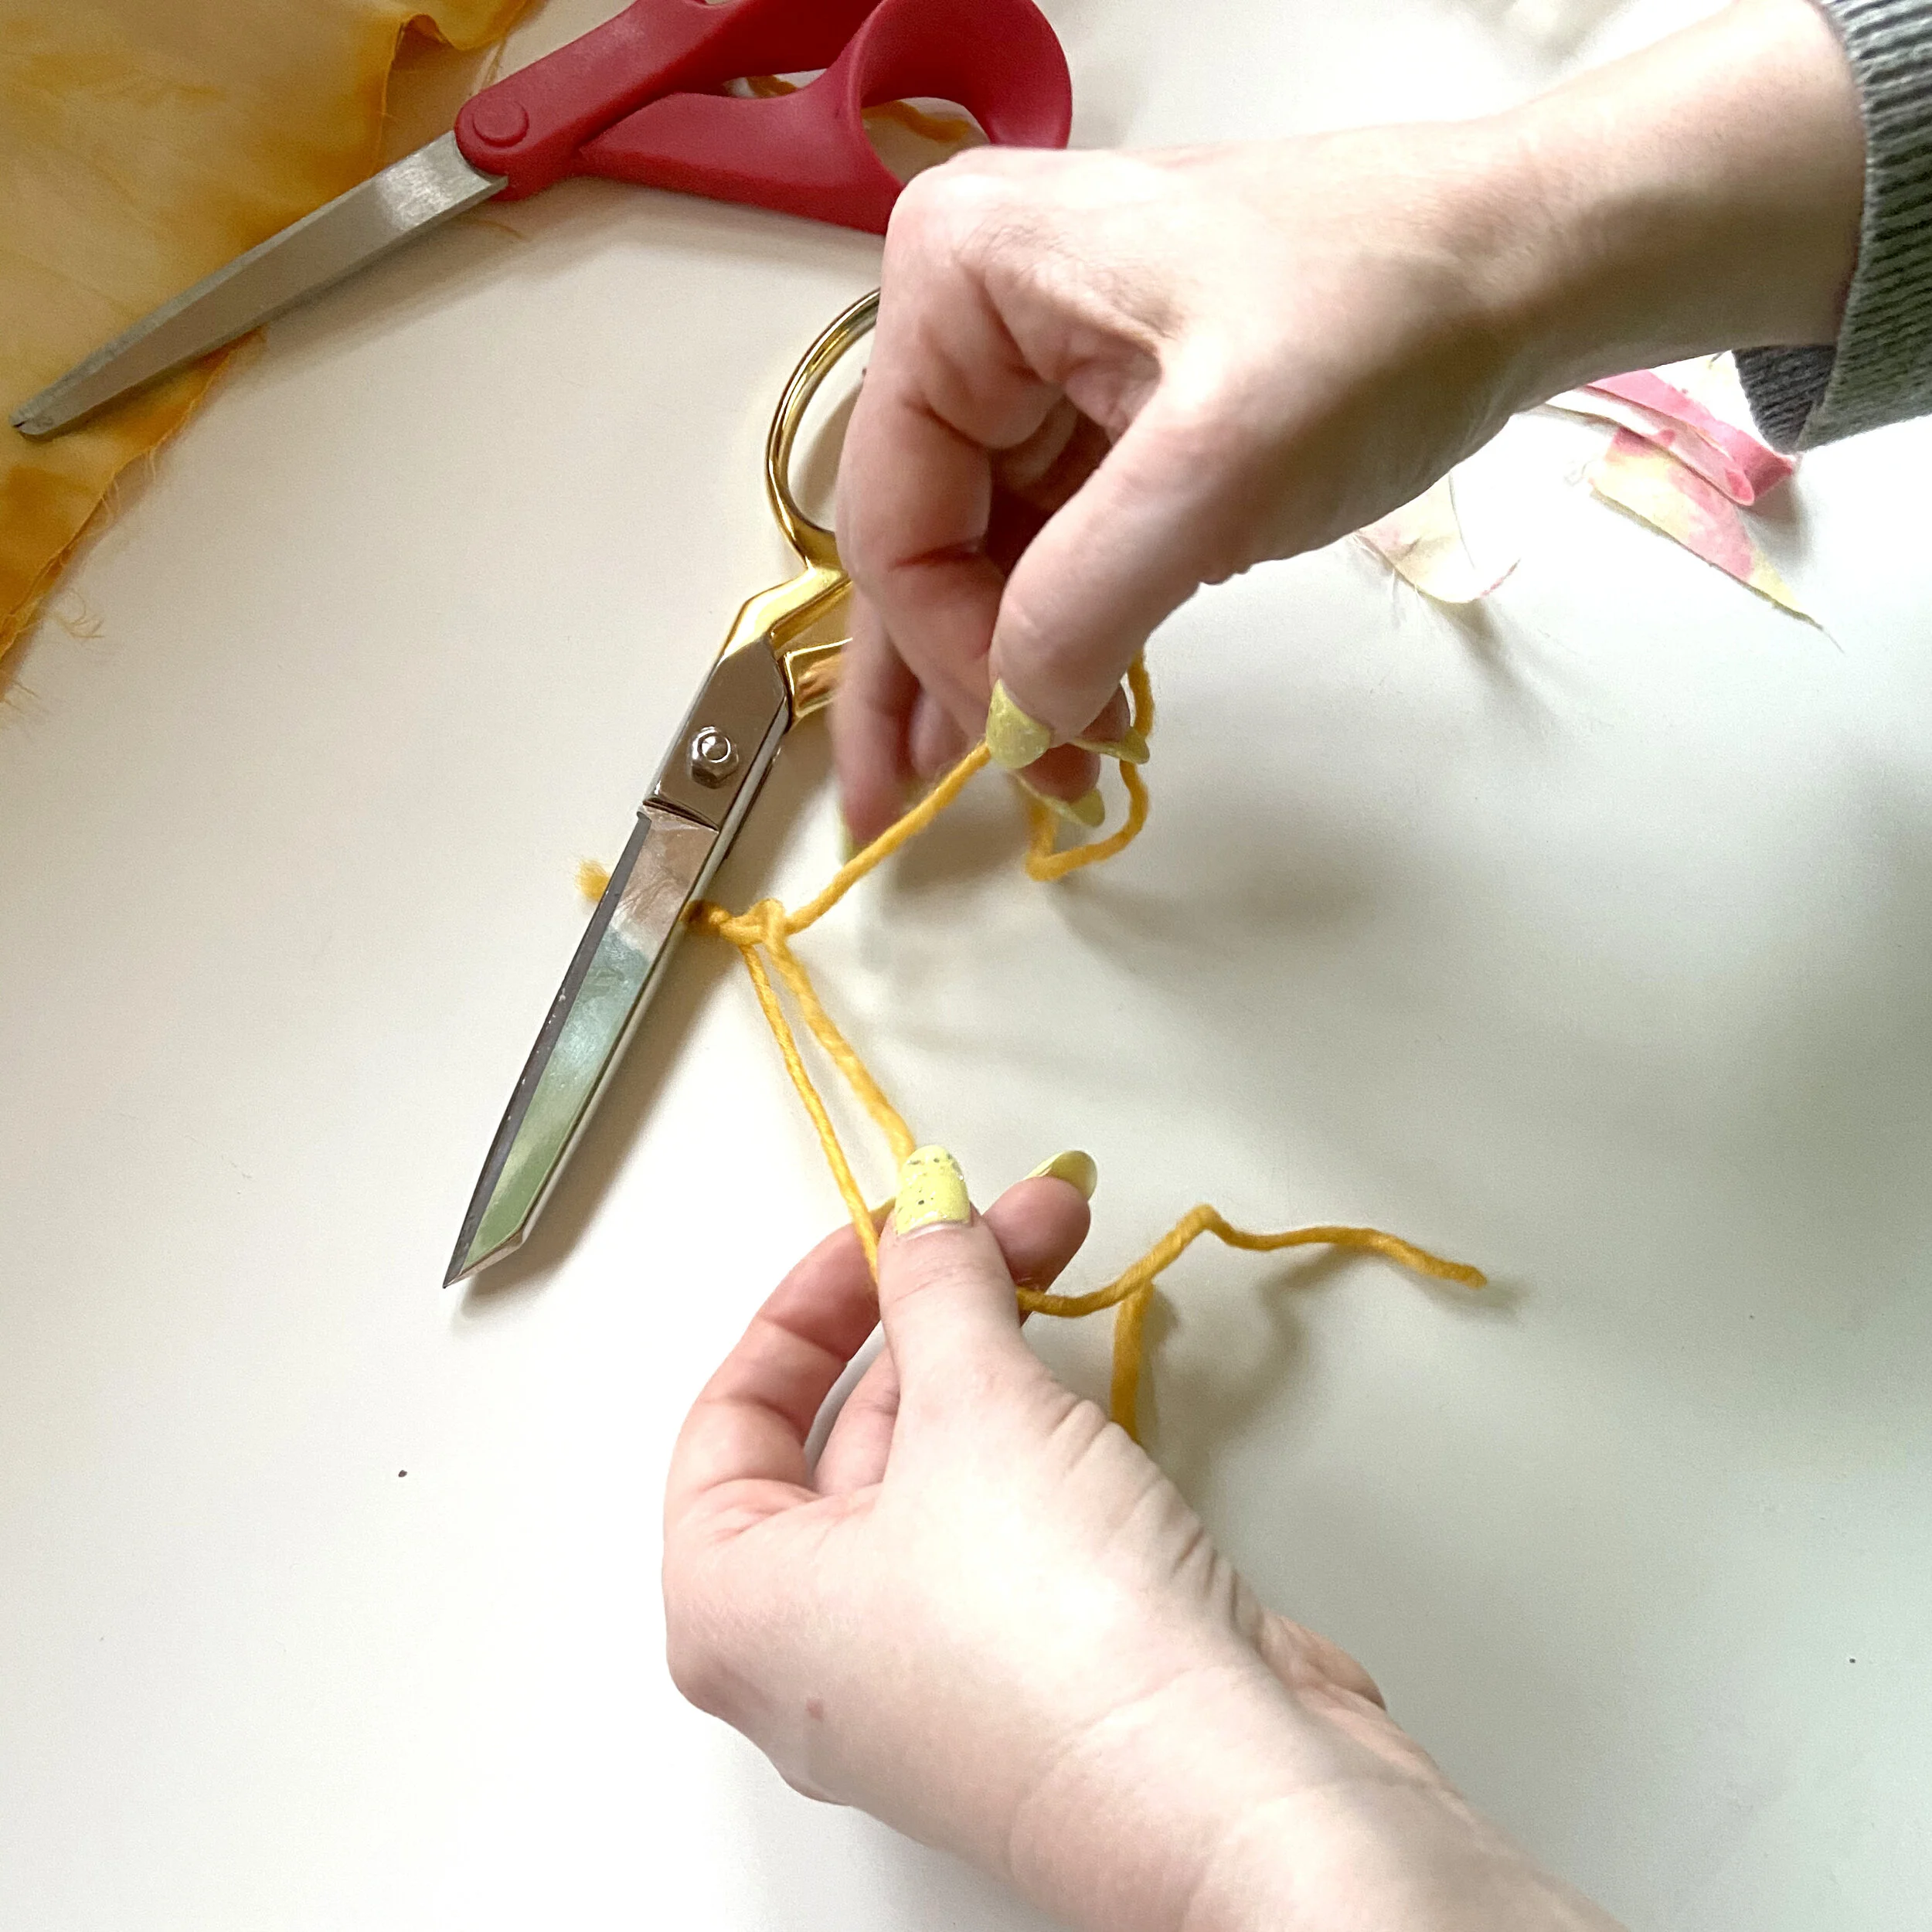
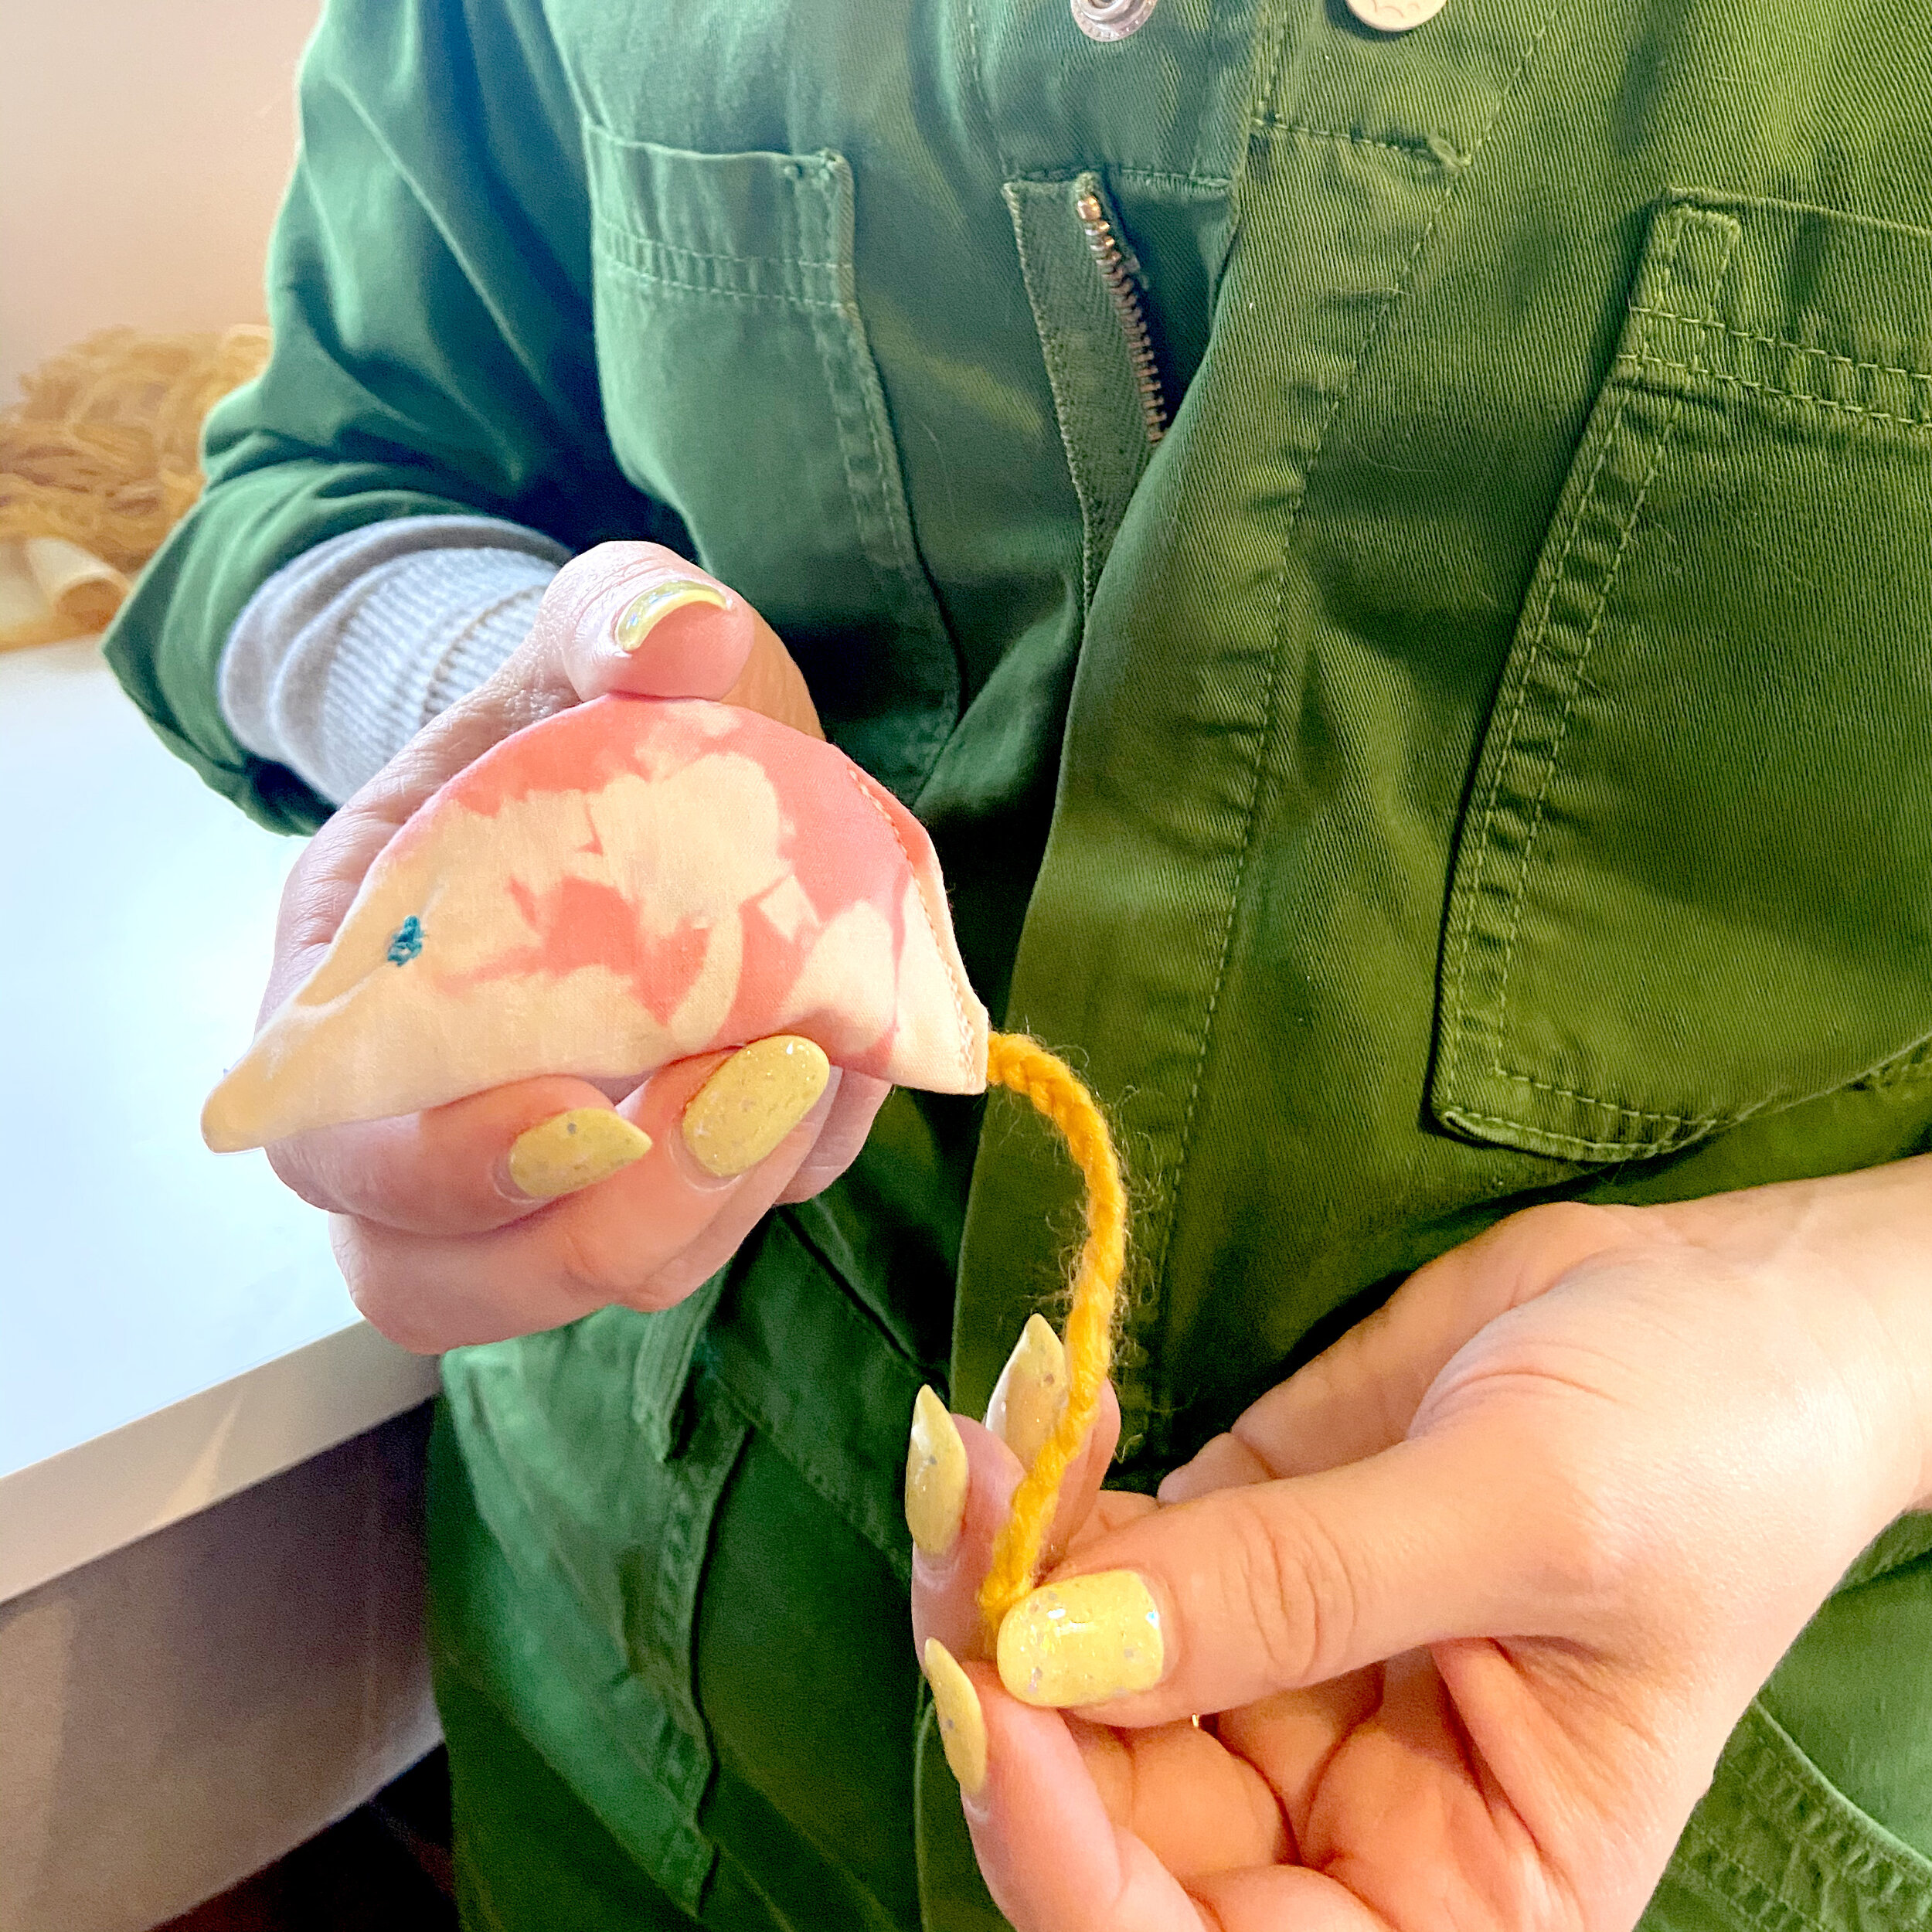
7. To make the mouse's tail, braid some yarn - a few inches will do. Tie it off at the ends and put one end of the yarn tail into the opening on the mouse toy.
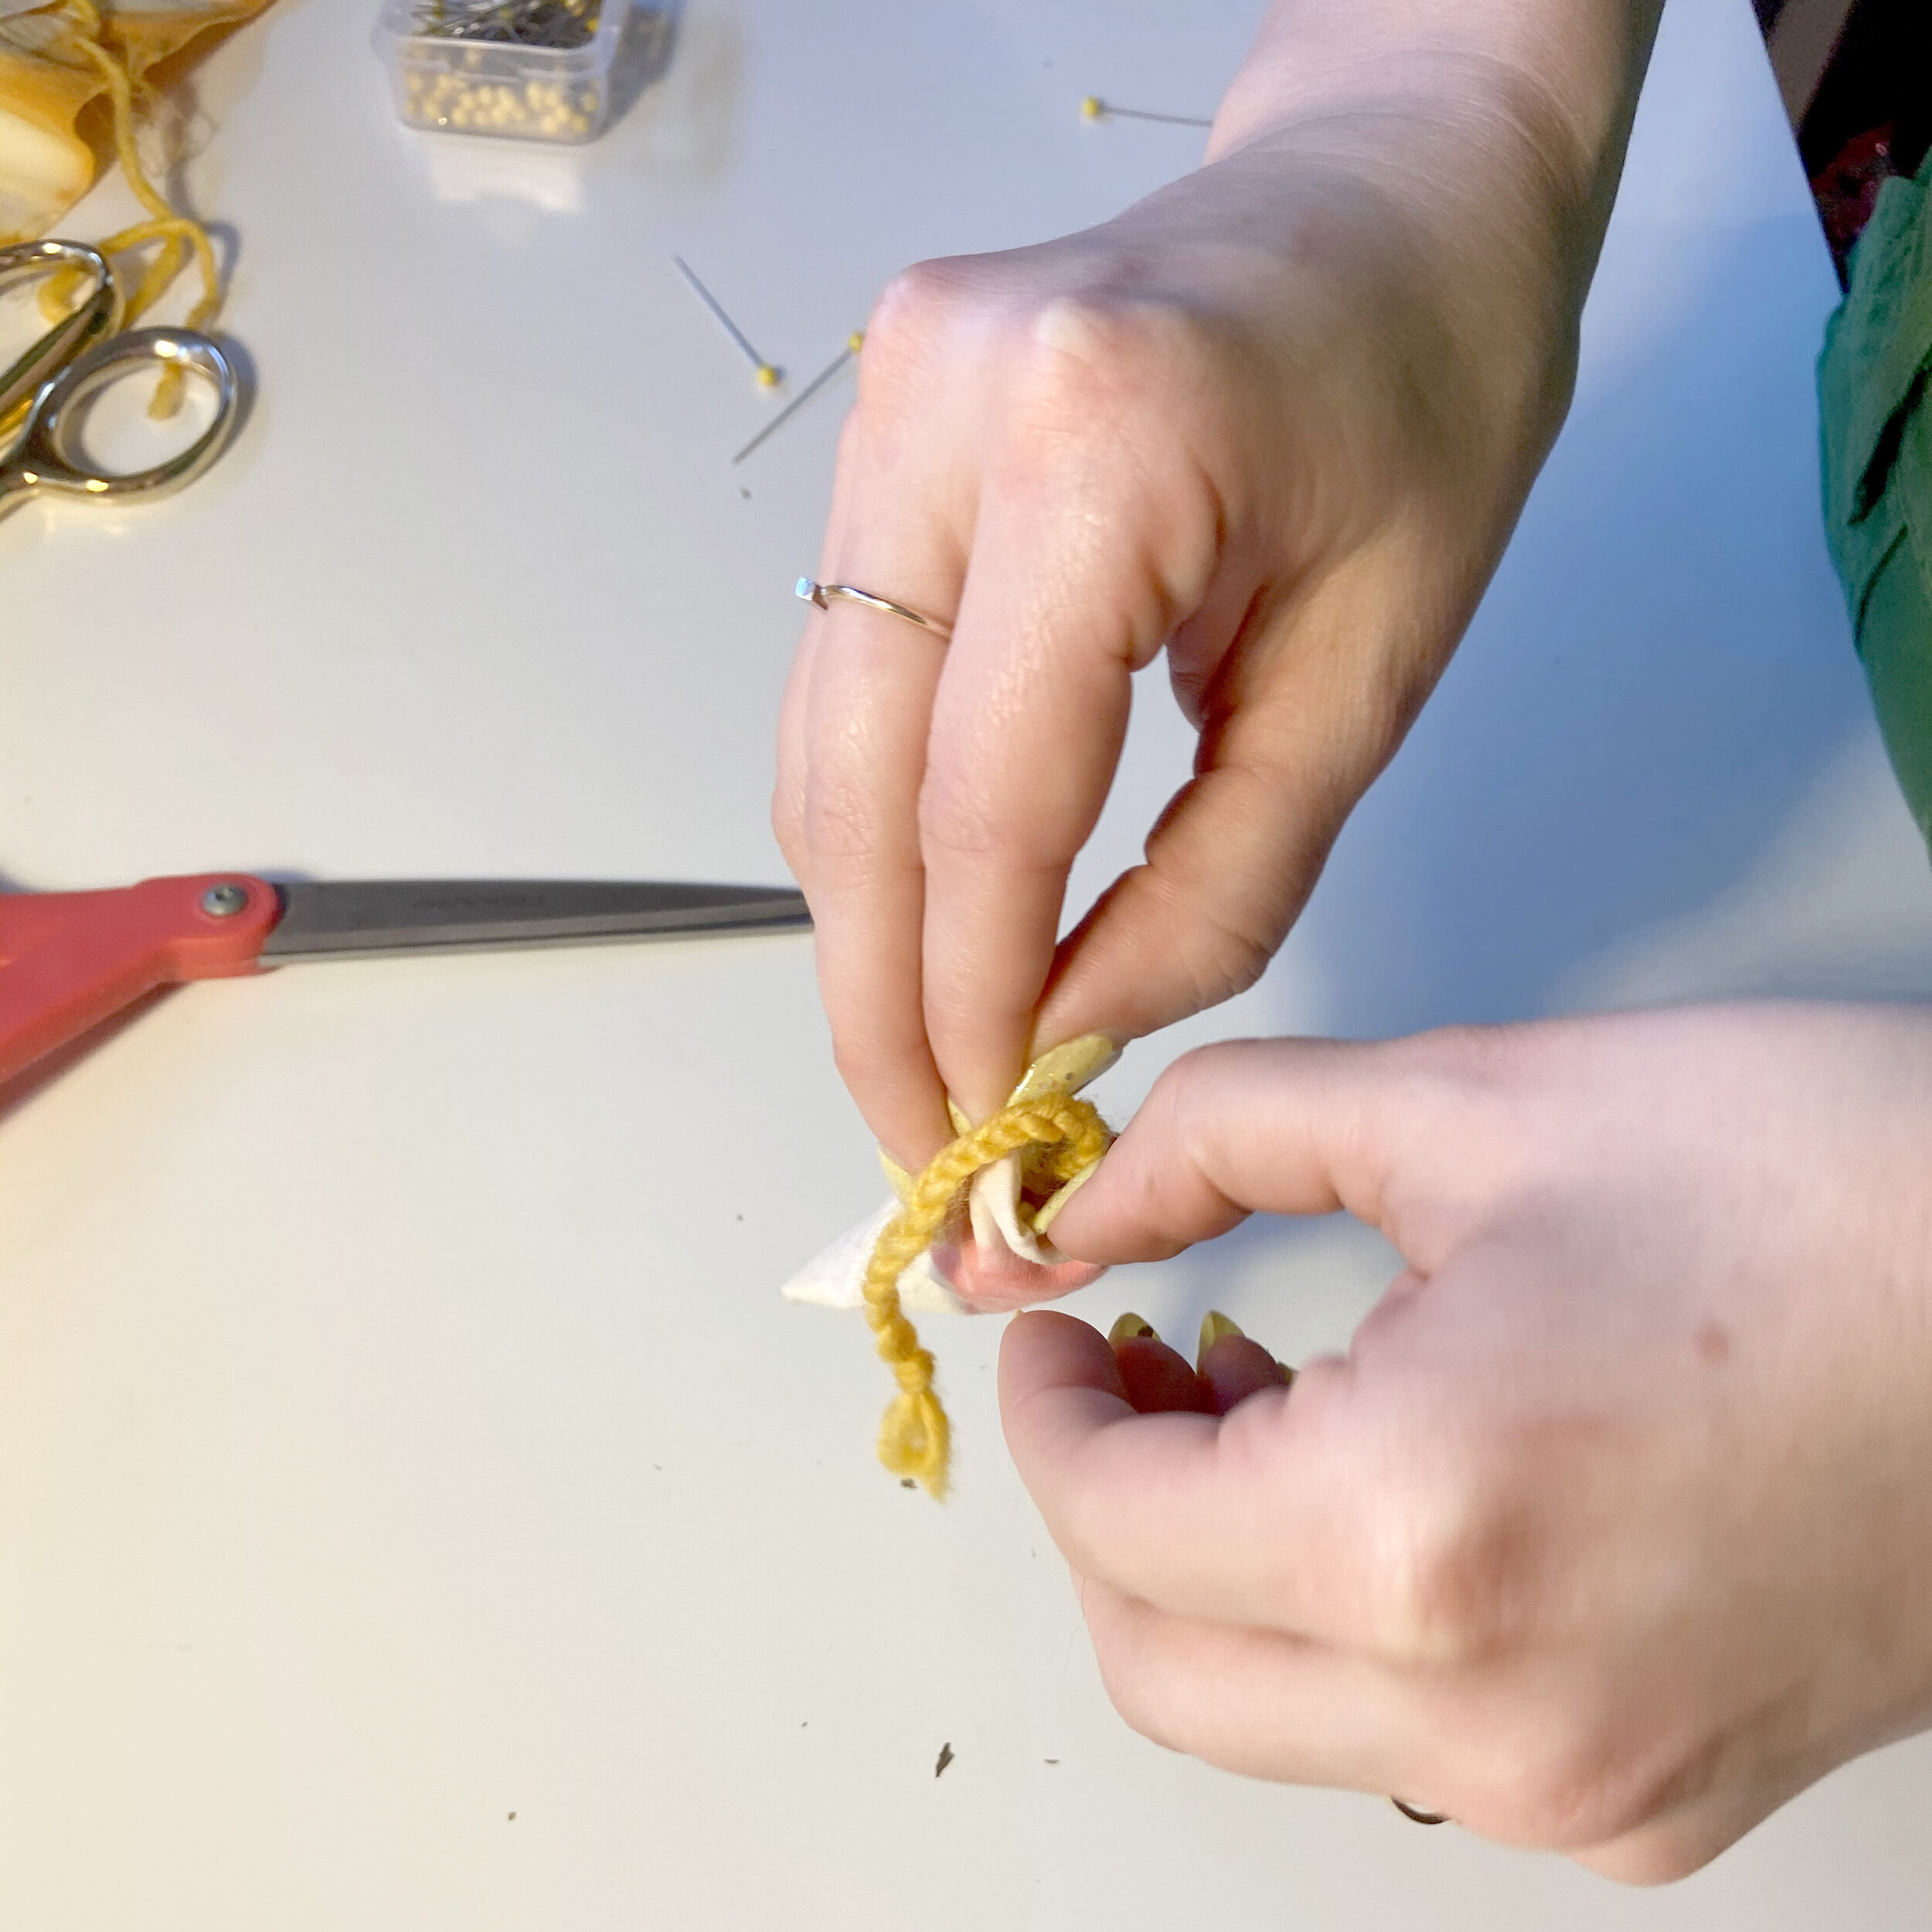
8. Use your sewing machine to sew up the mouse toy opening, making sure to sew back and forth over the yarn tail a few extra times for reinforcement.
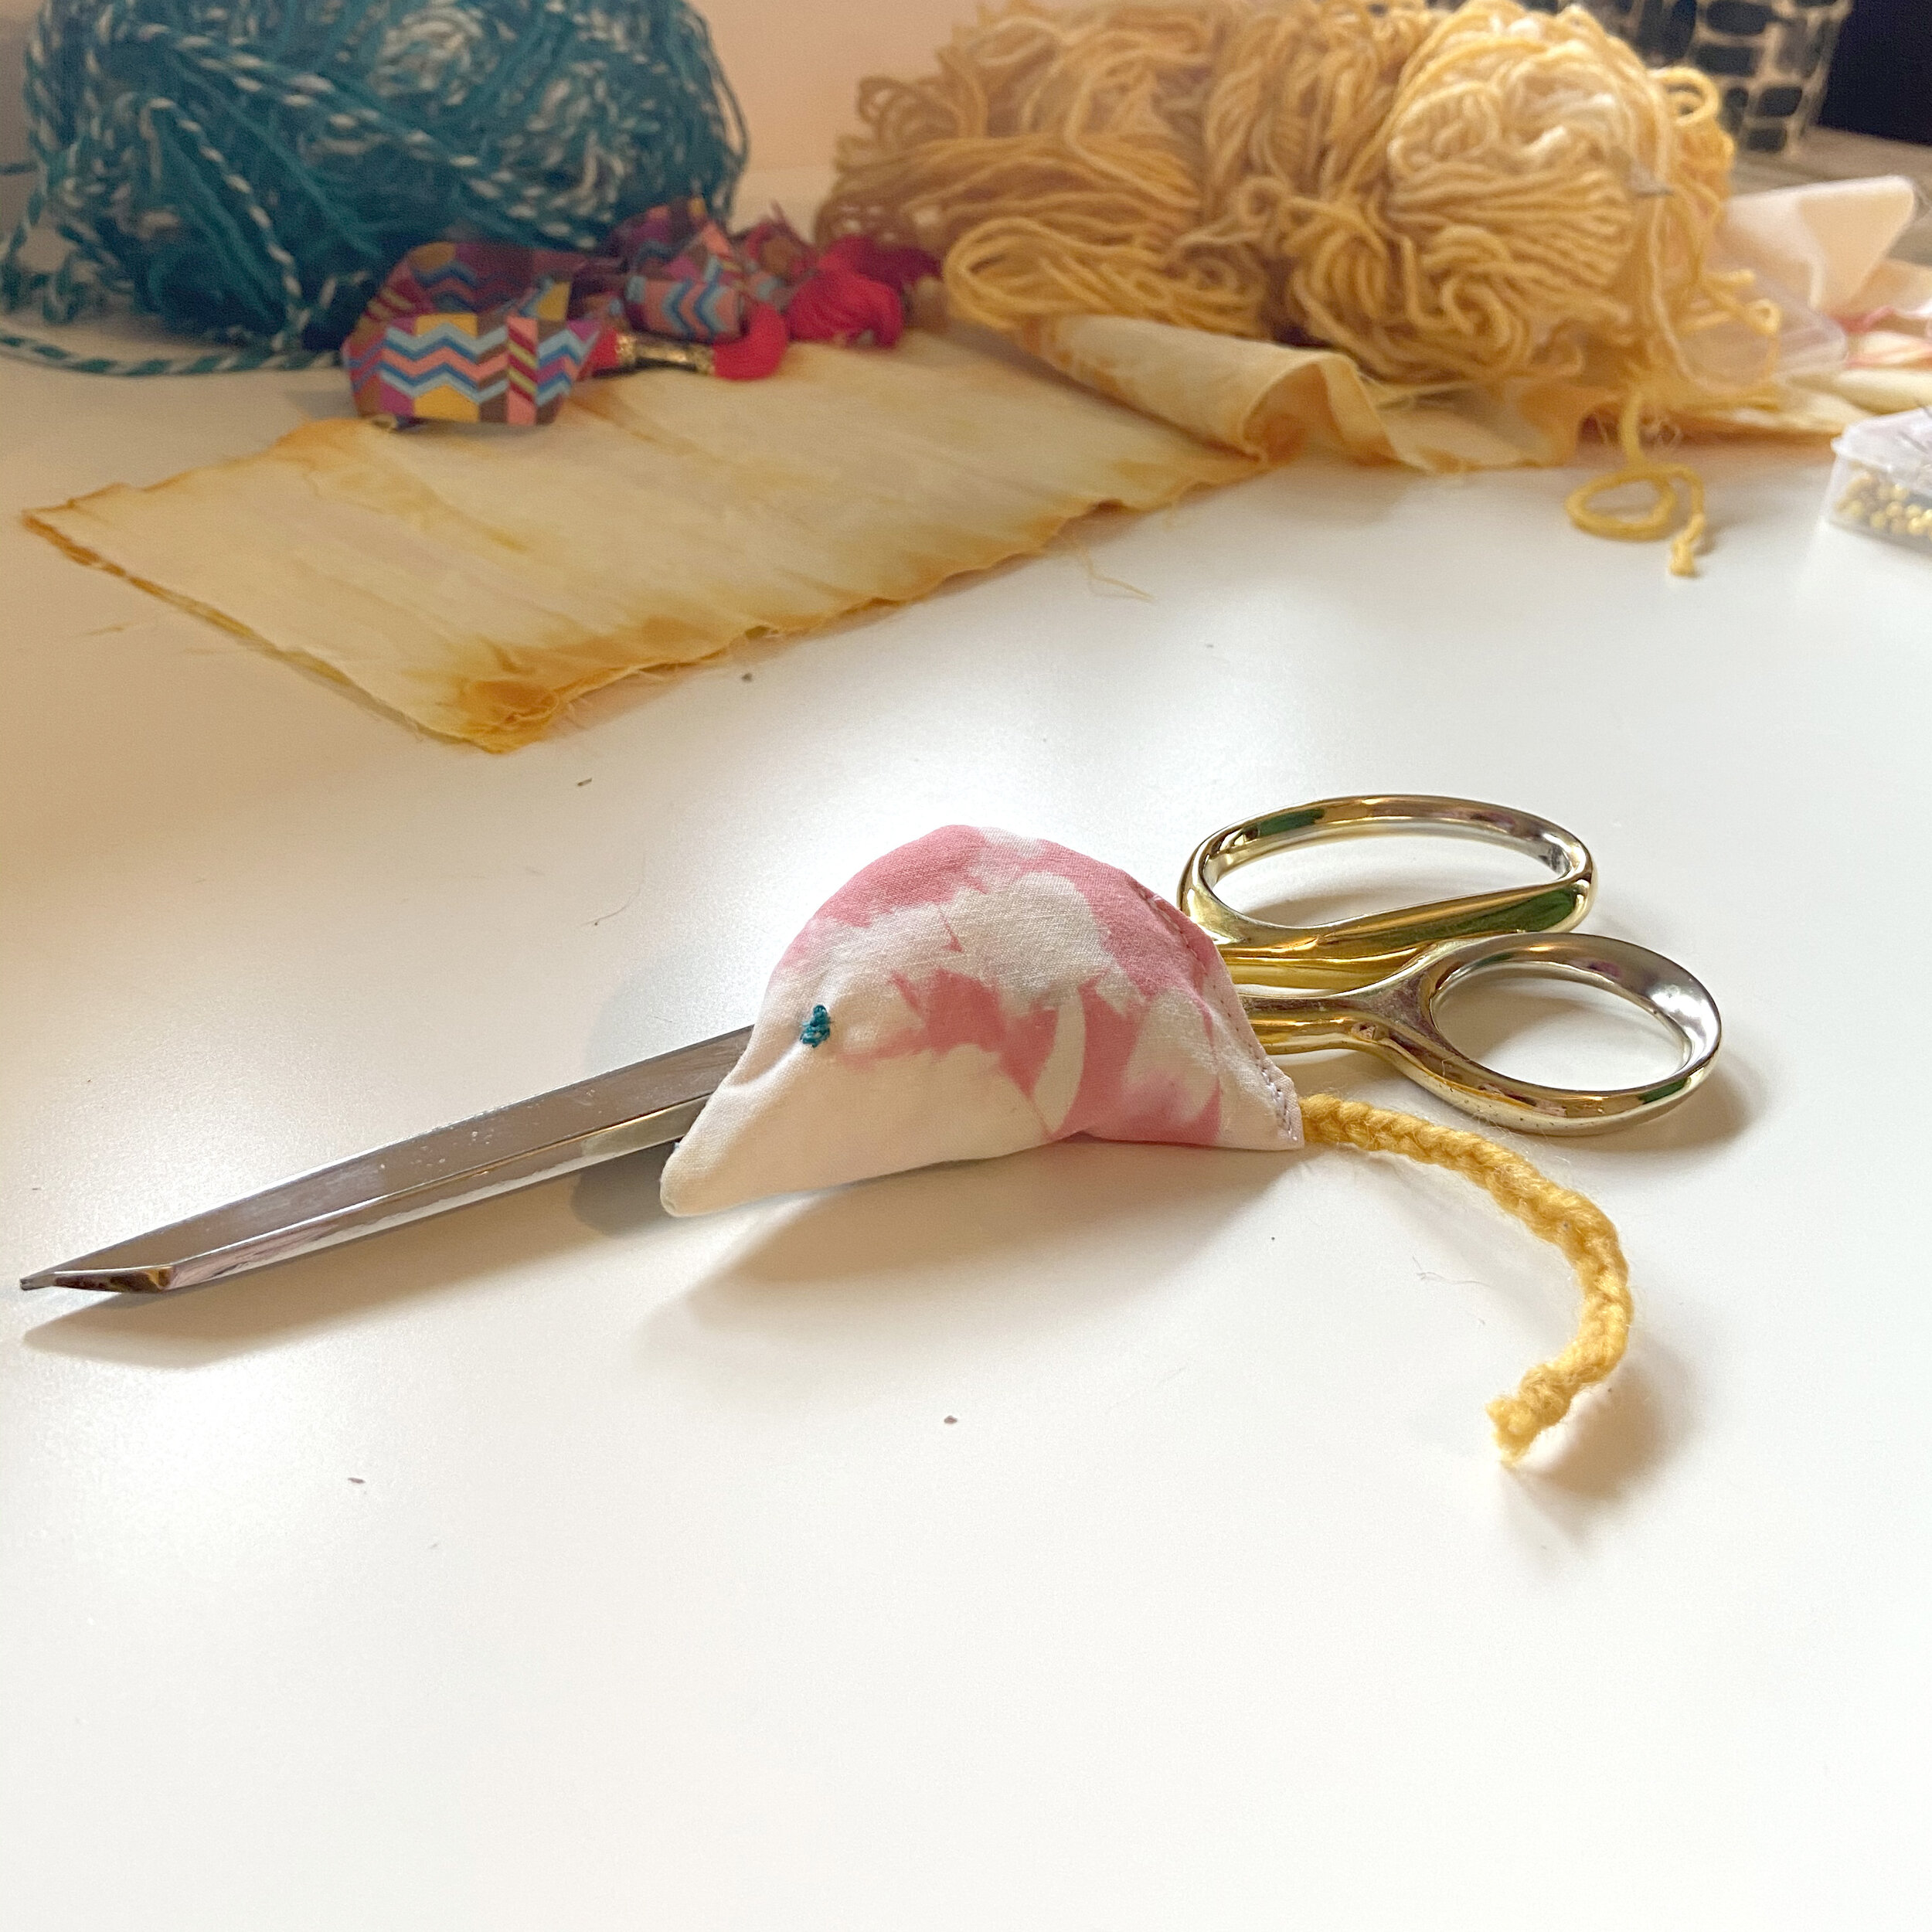
9. For a finishing touch, give your mousey some eyes with a little french knot or whipstitch on either side.
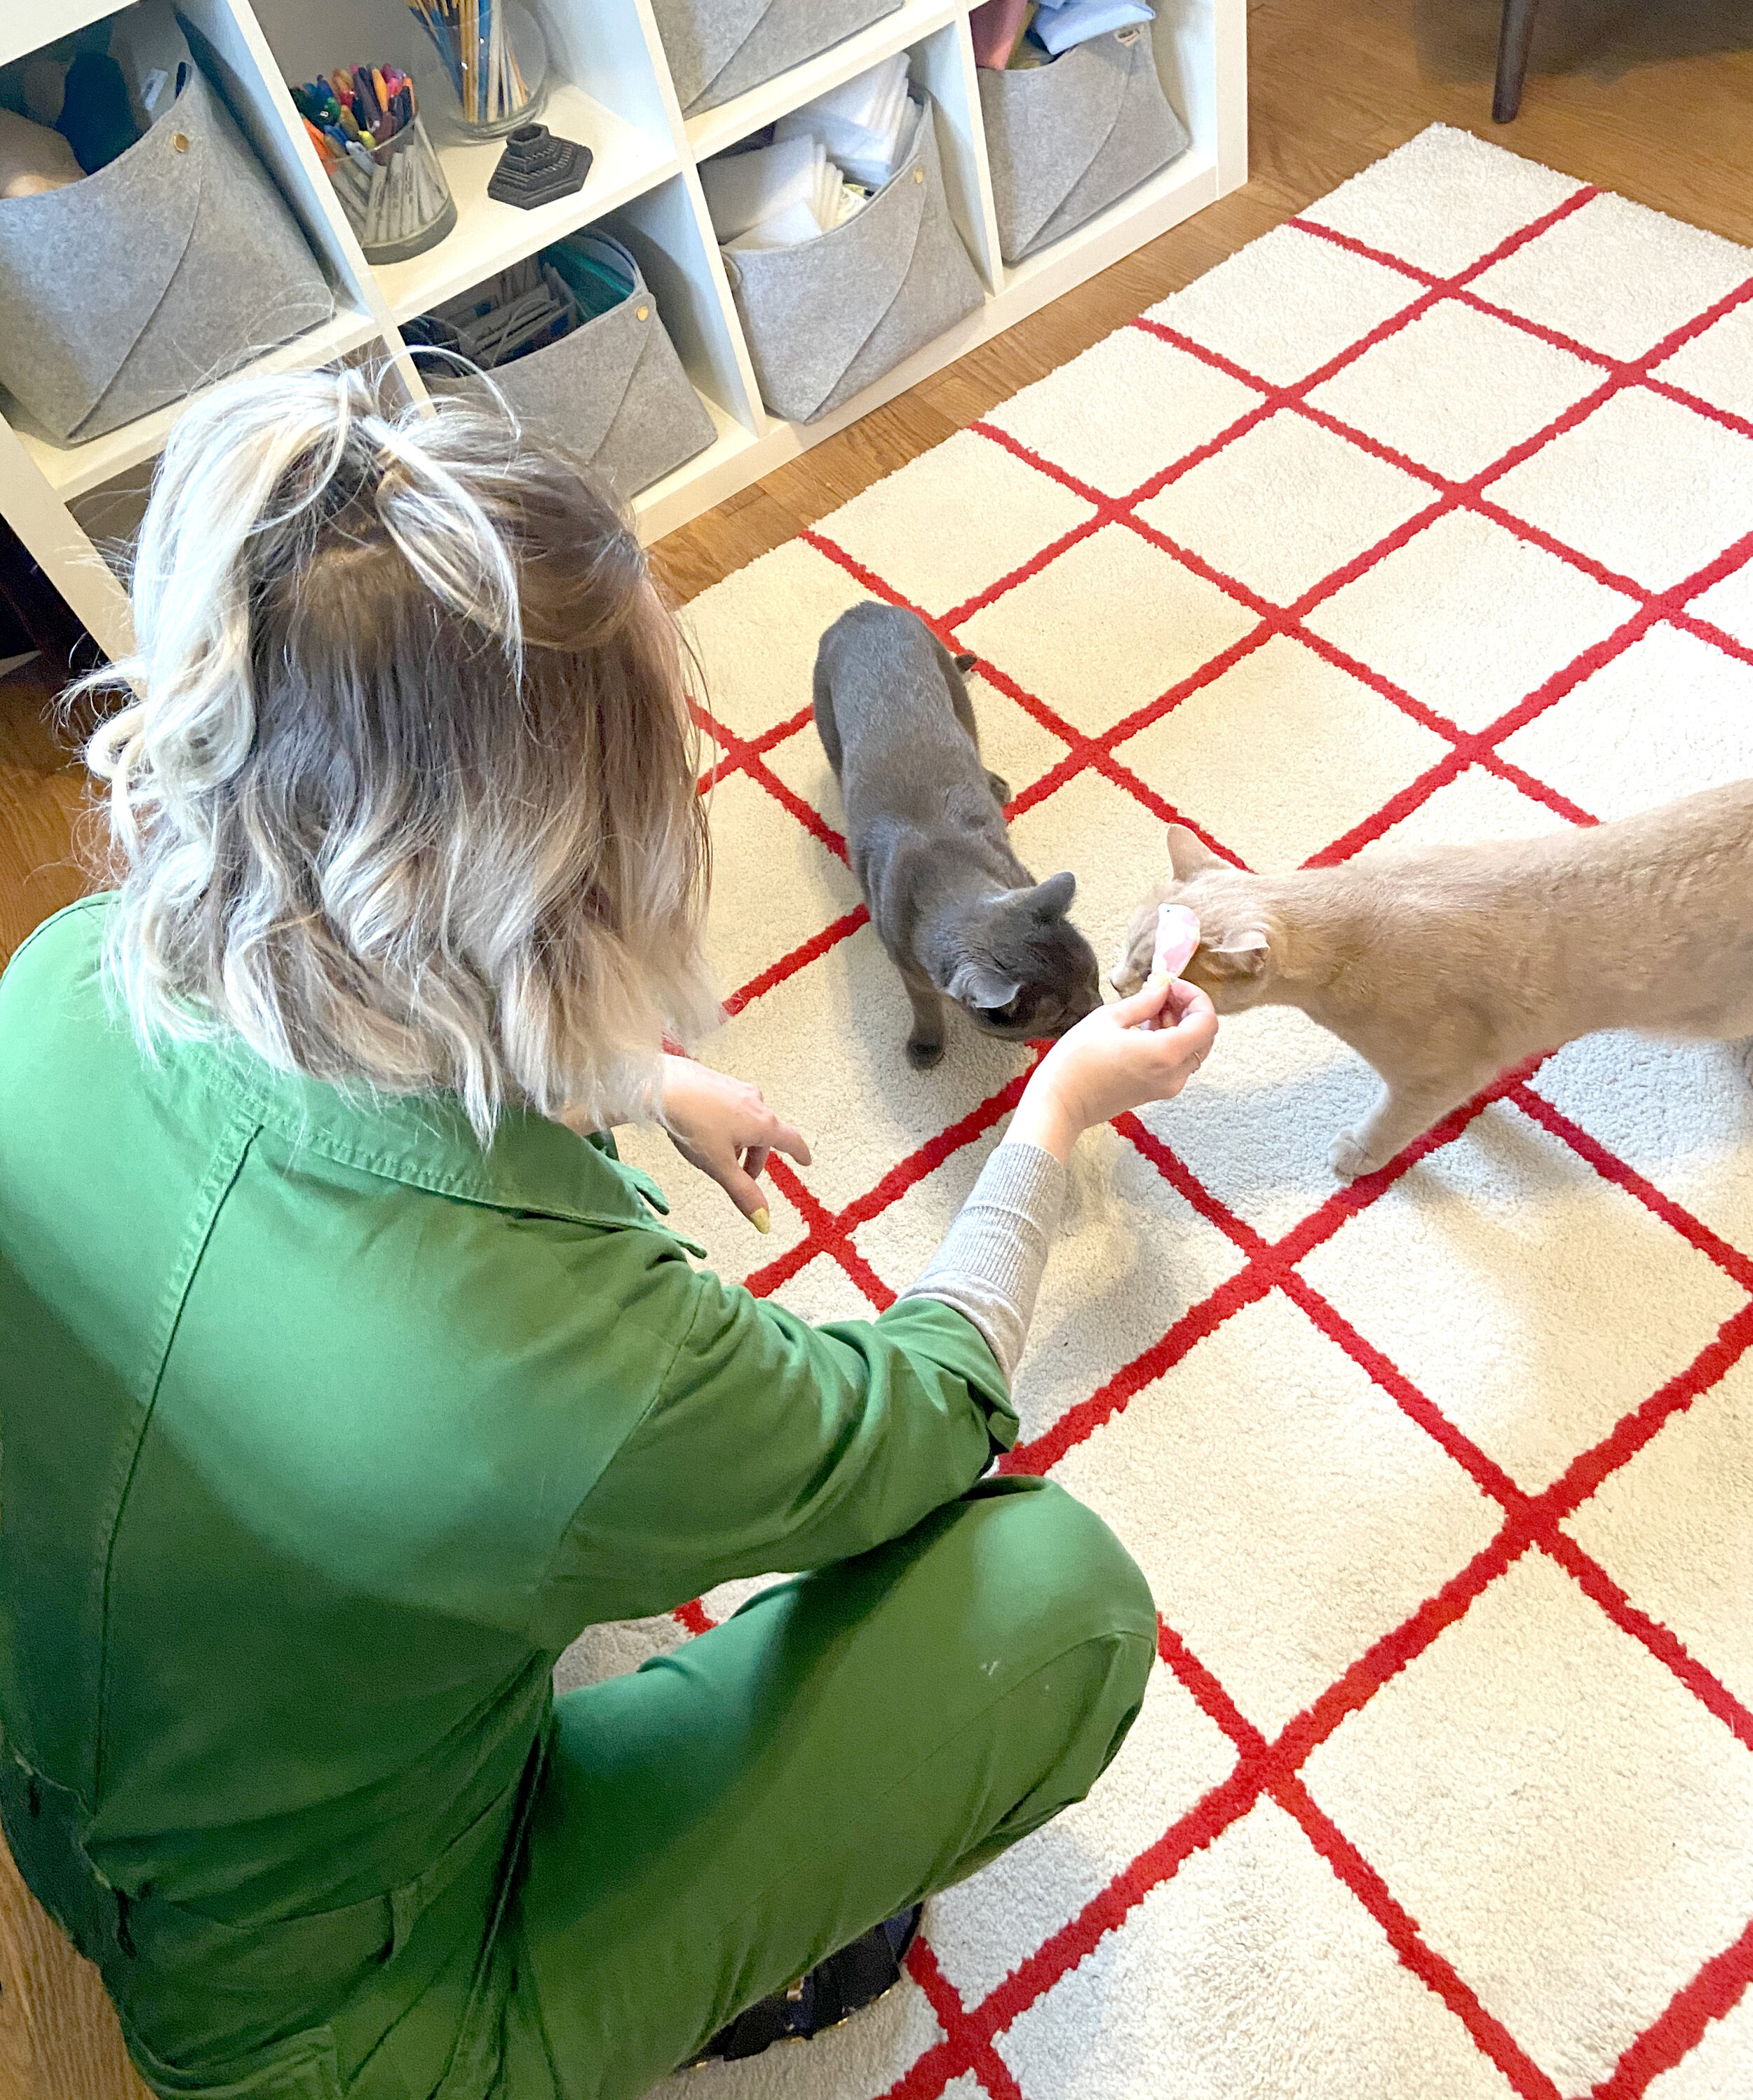
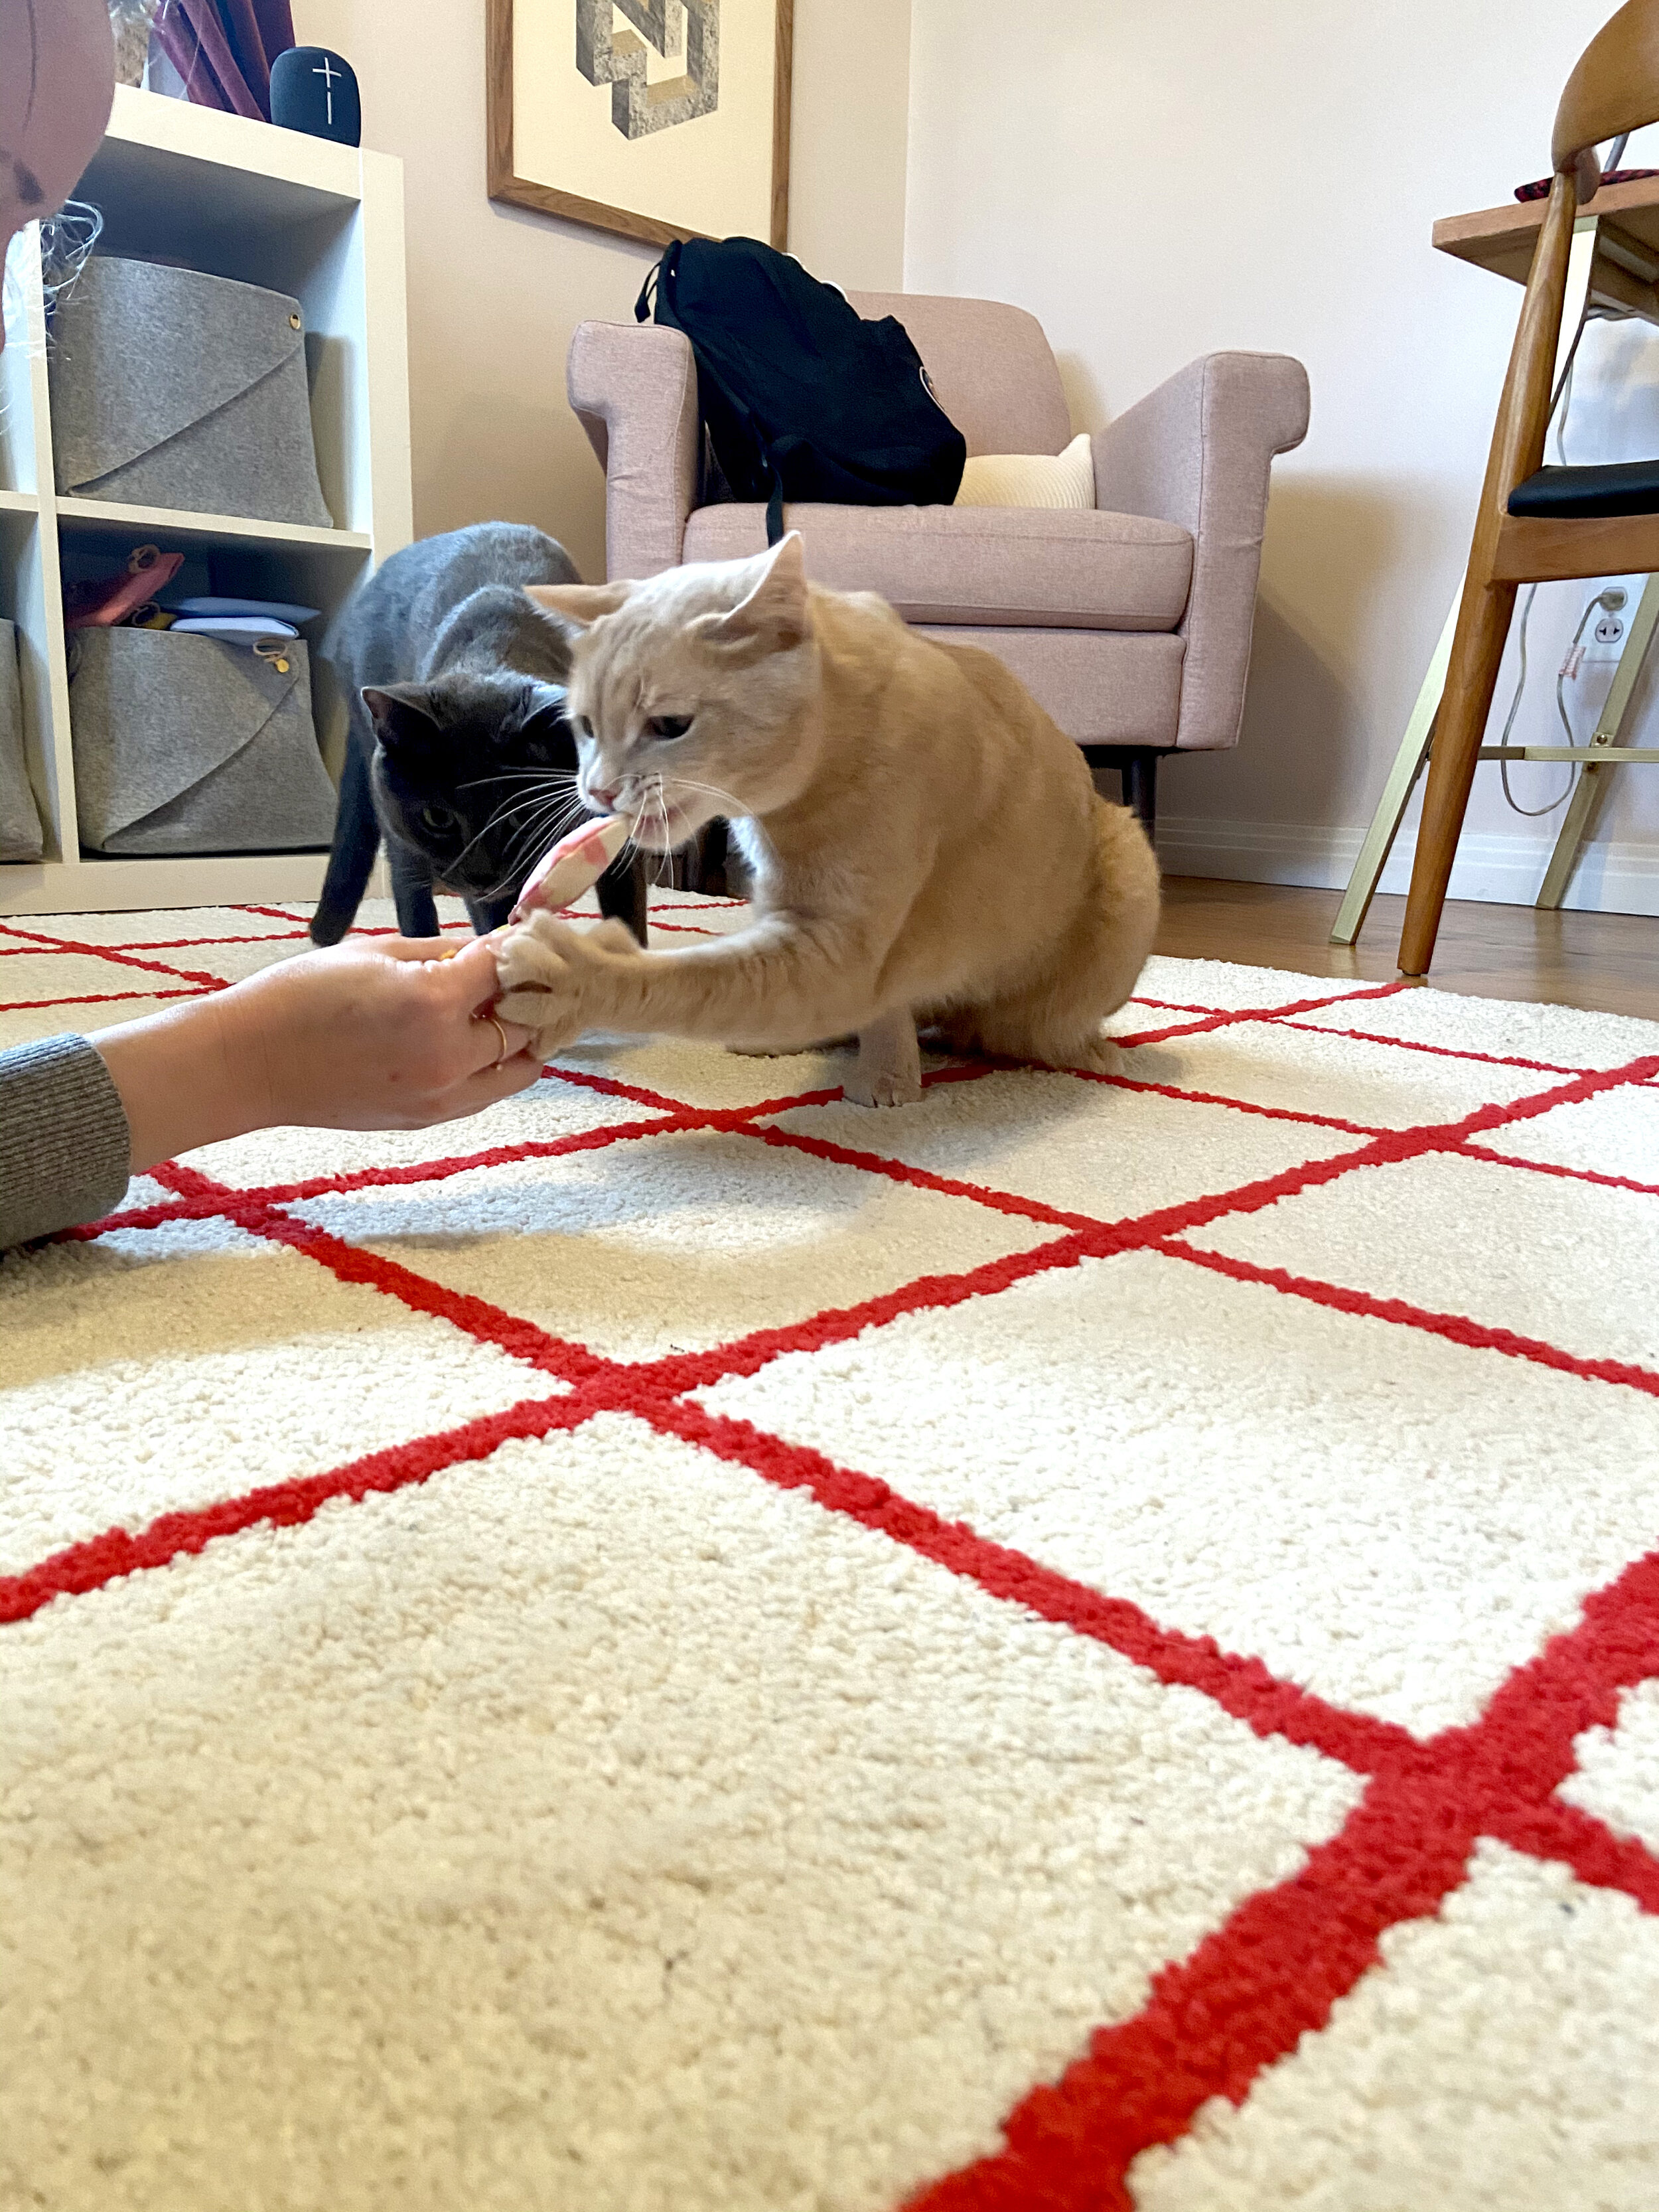
Taadaa! Give that little mousey a good toss and watch the cats go crazy. Thank GOODNESS we have our critters to keep us entertained, right?
BONUS CRAFT: Plushy Carrot Bunny Toy with Treat Pocket
-
Take a 5 inch square of scrap fabric, and cut across it diagonally to make a triangle.
-
Use another piece of scrap fabric to cut out a tiny pocket shape - just big enough to fit a bunny treat (dried cranberries or blueberries work well!)
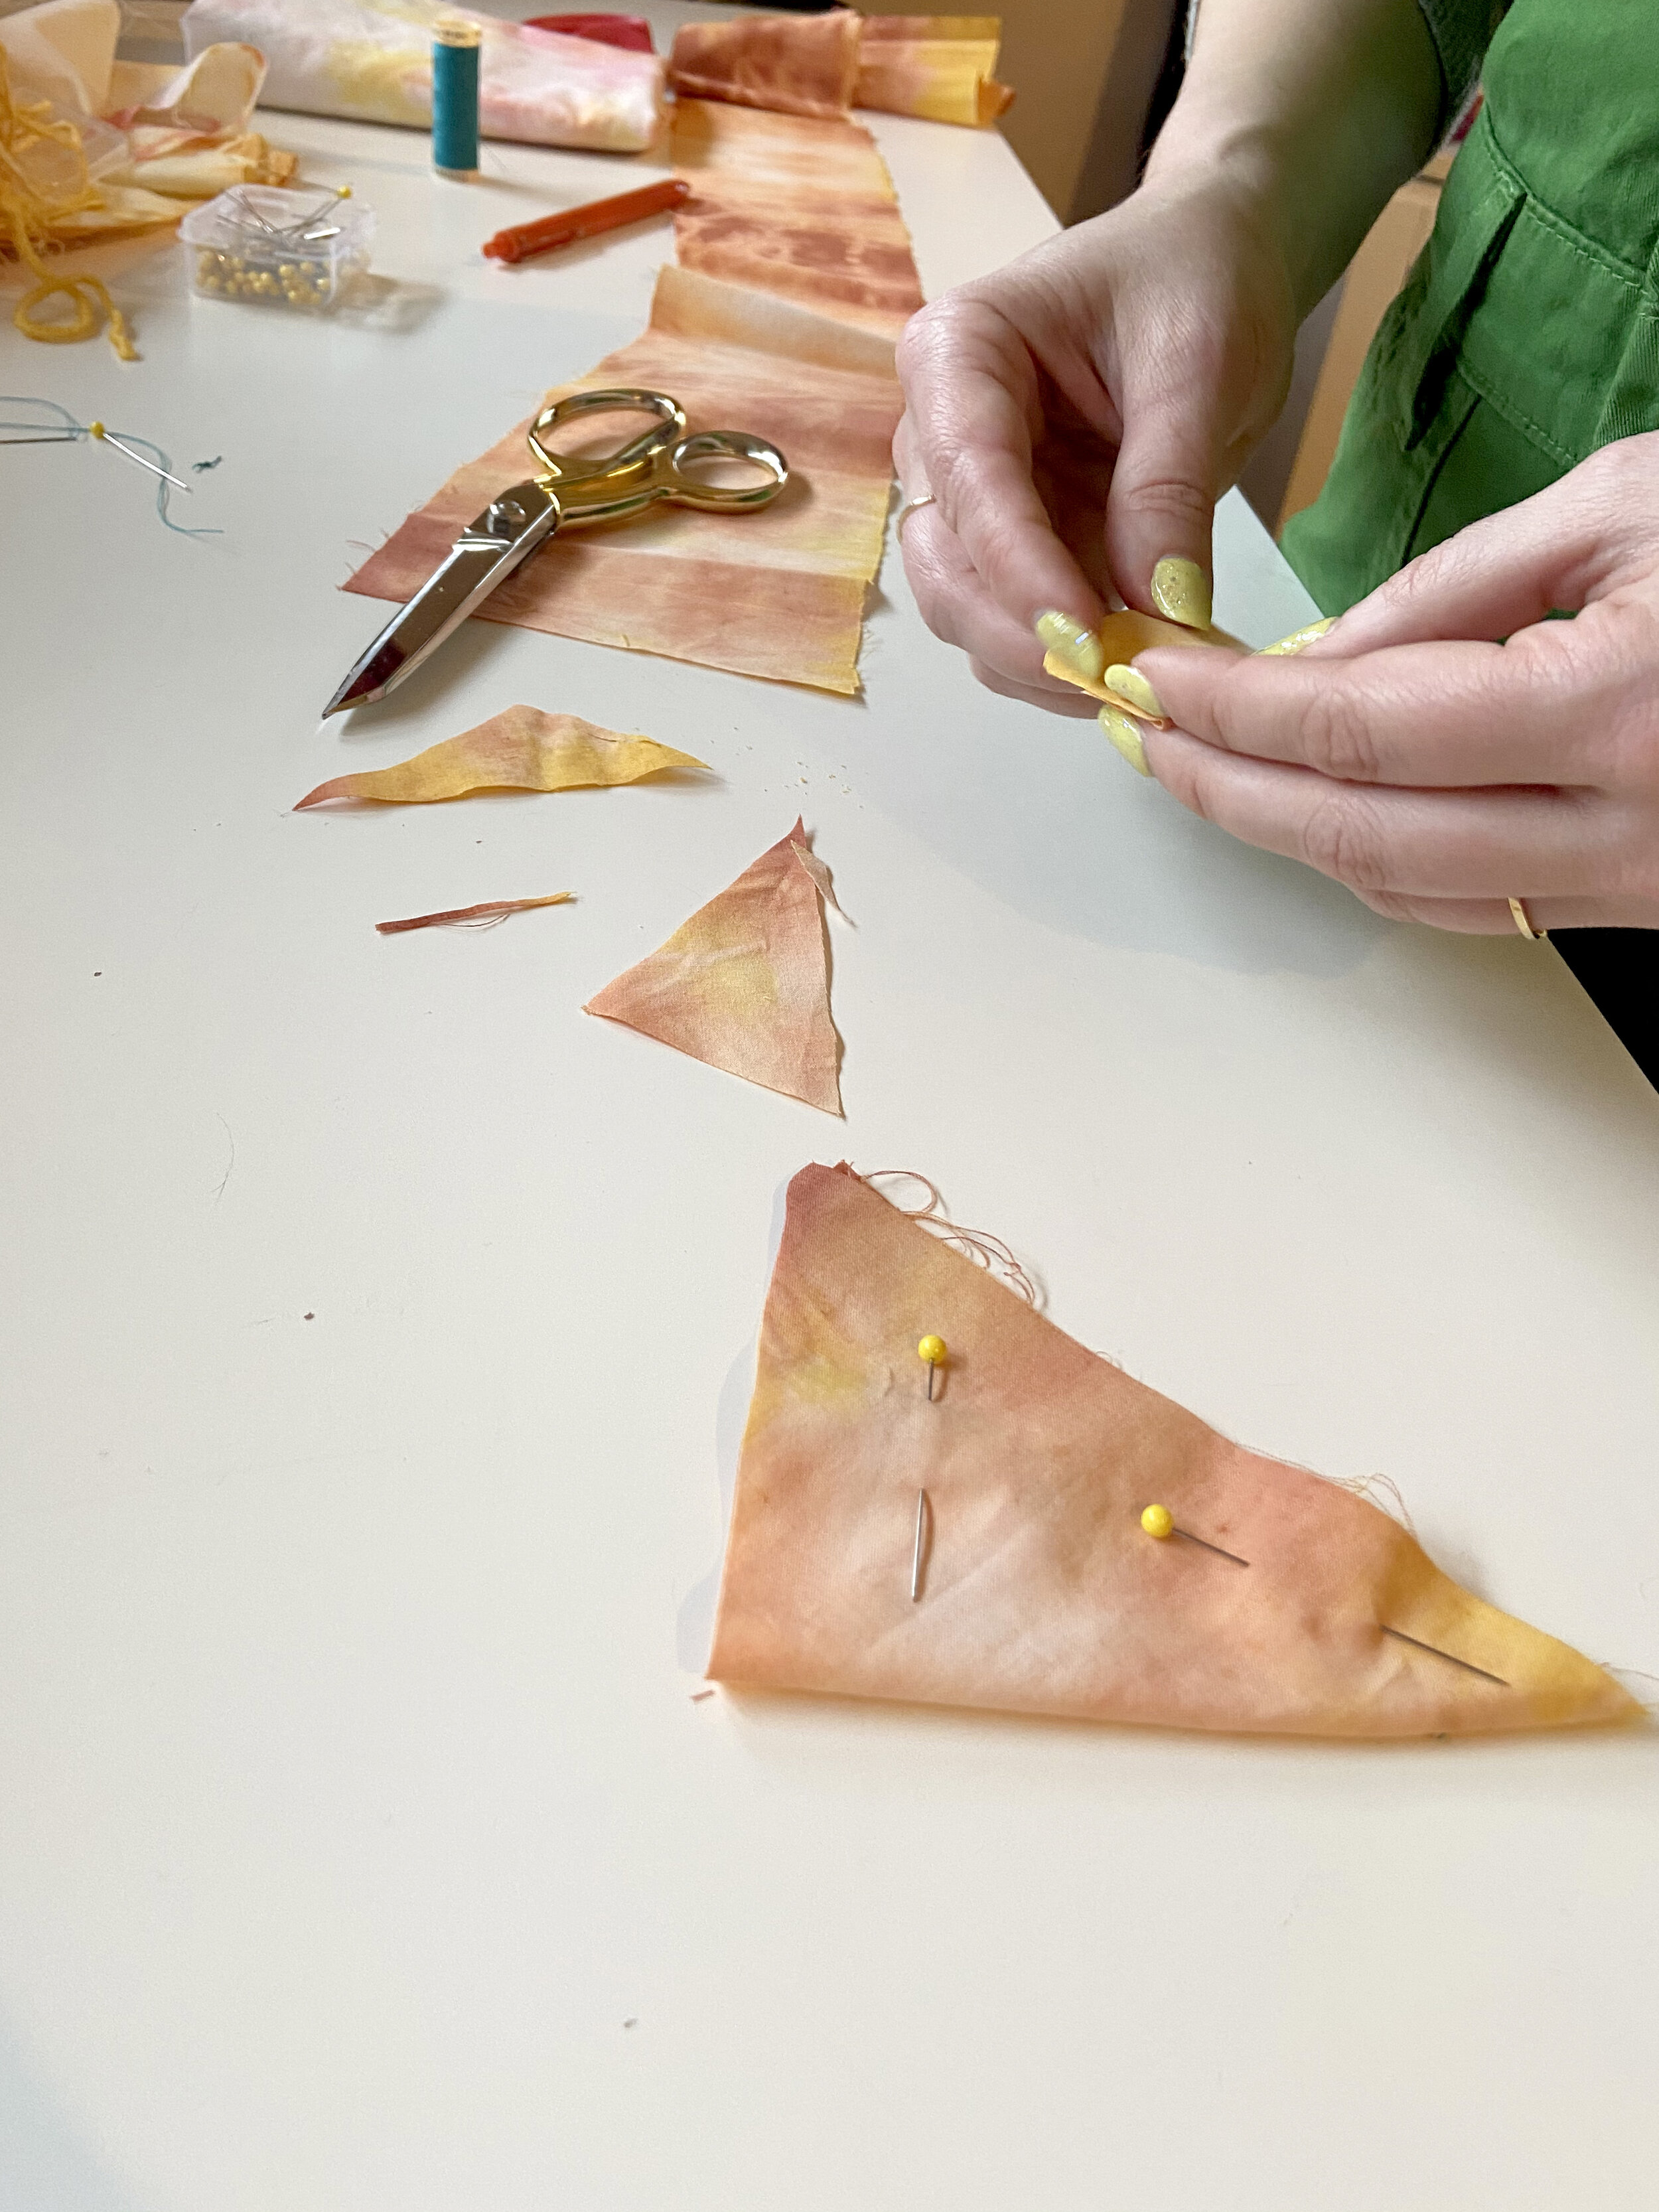
3. Sew the pocket onto the center of the triangle you cut out - the opening of the pocket should be up towards the flat edge of the triangle, with the bottom of the pocket oriented above the point that will become the bottom of the carrot.
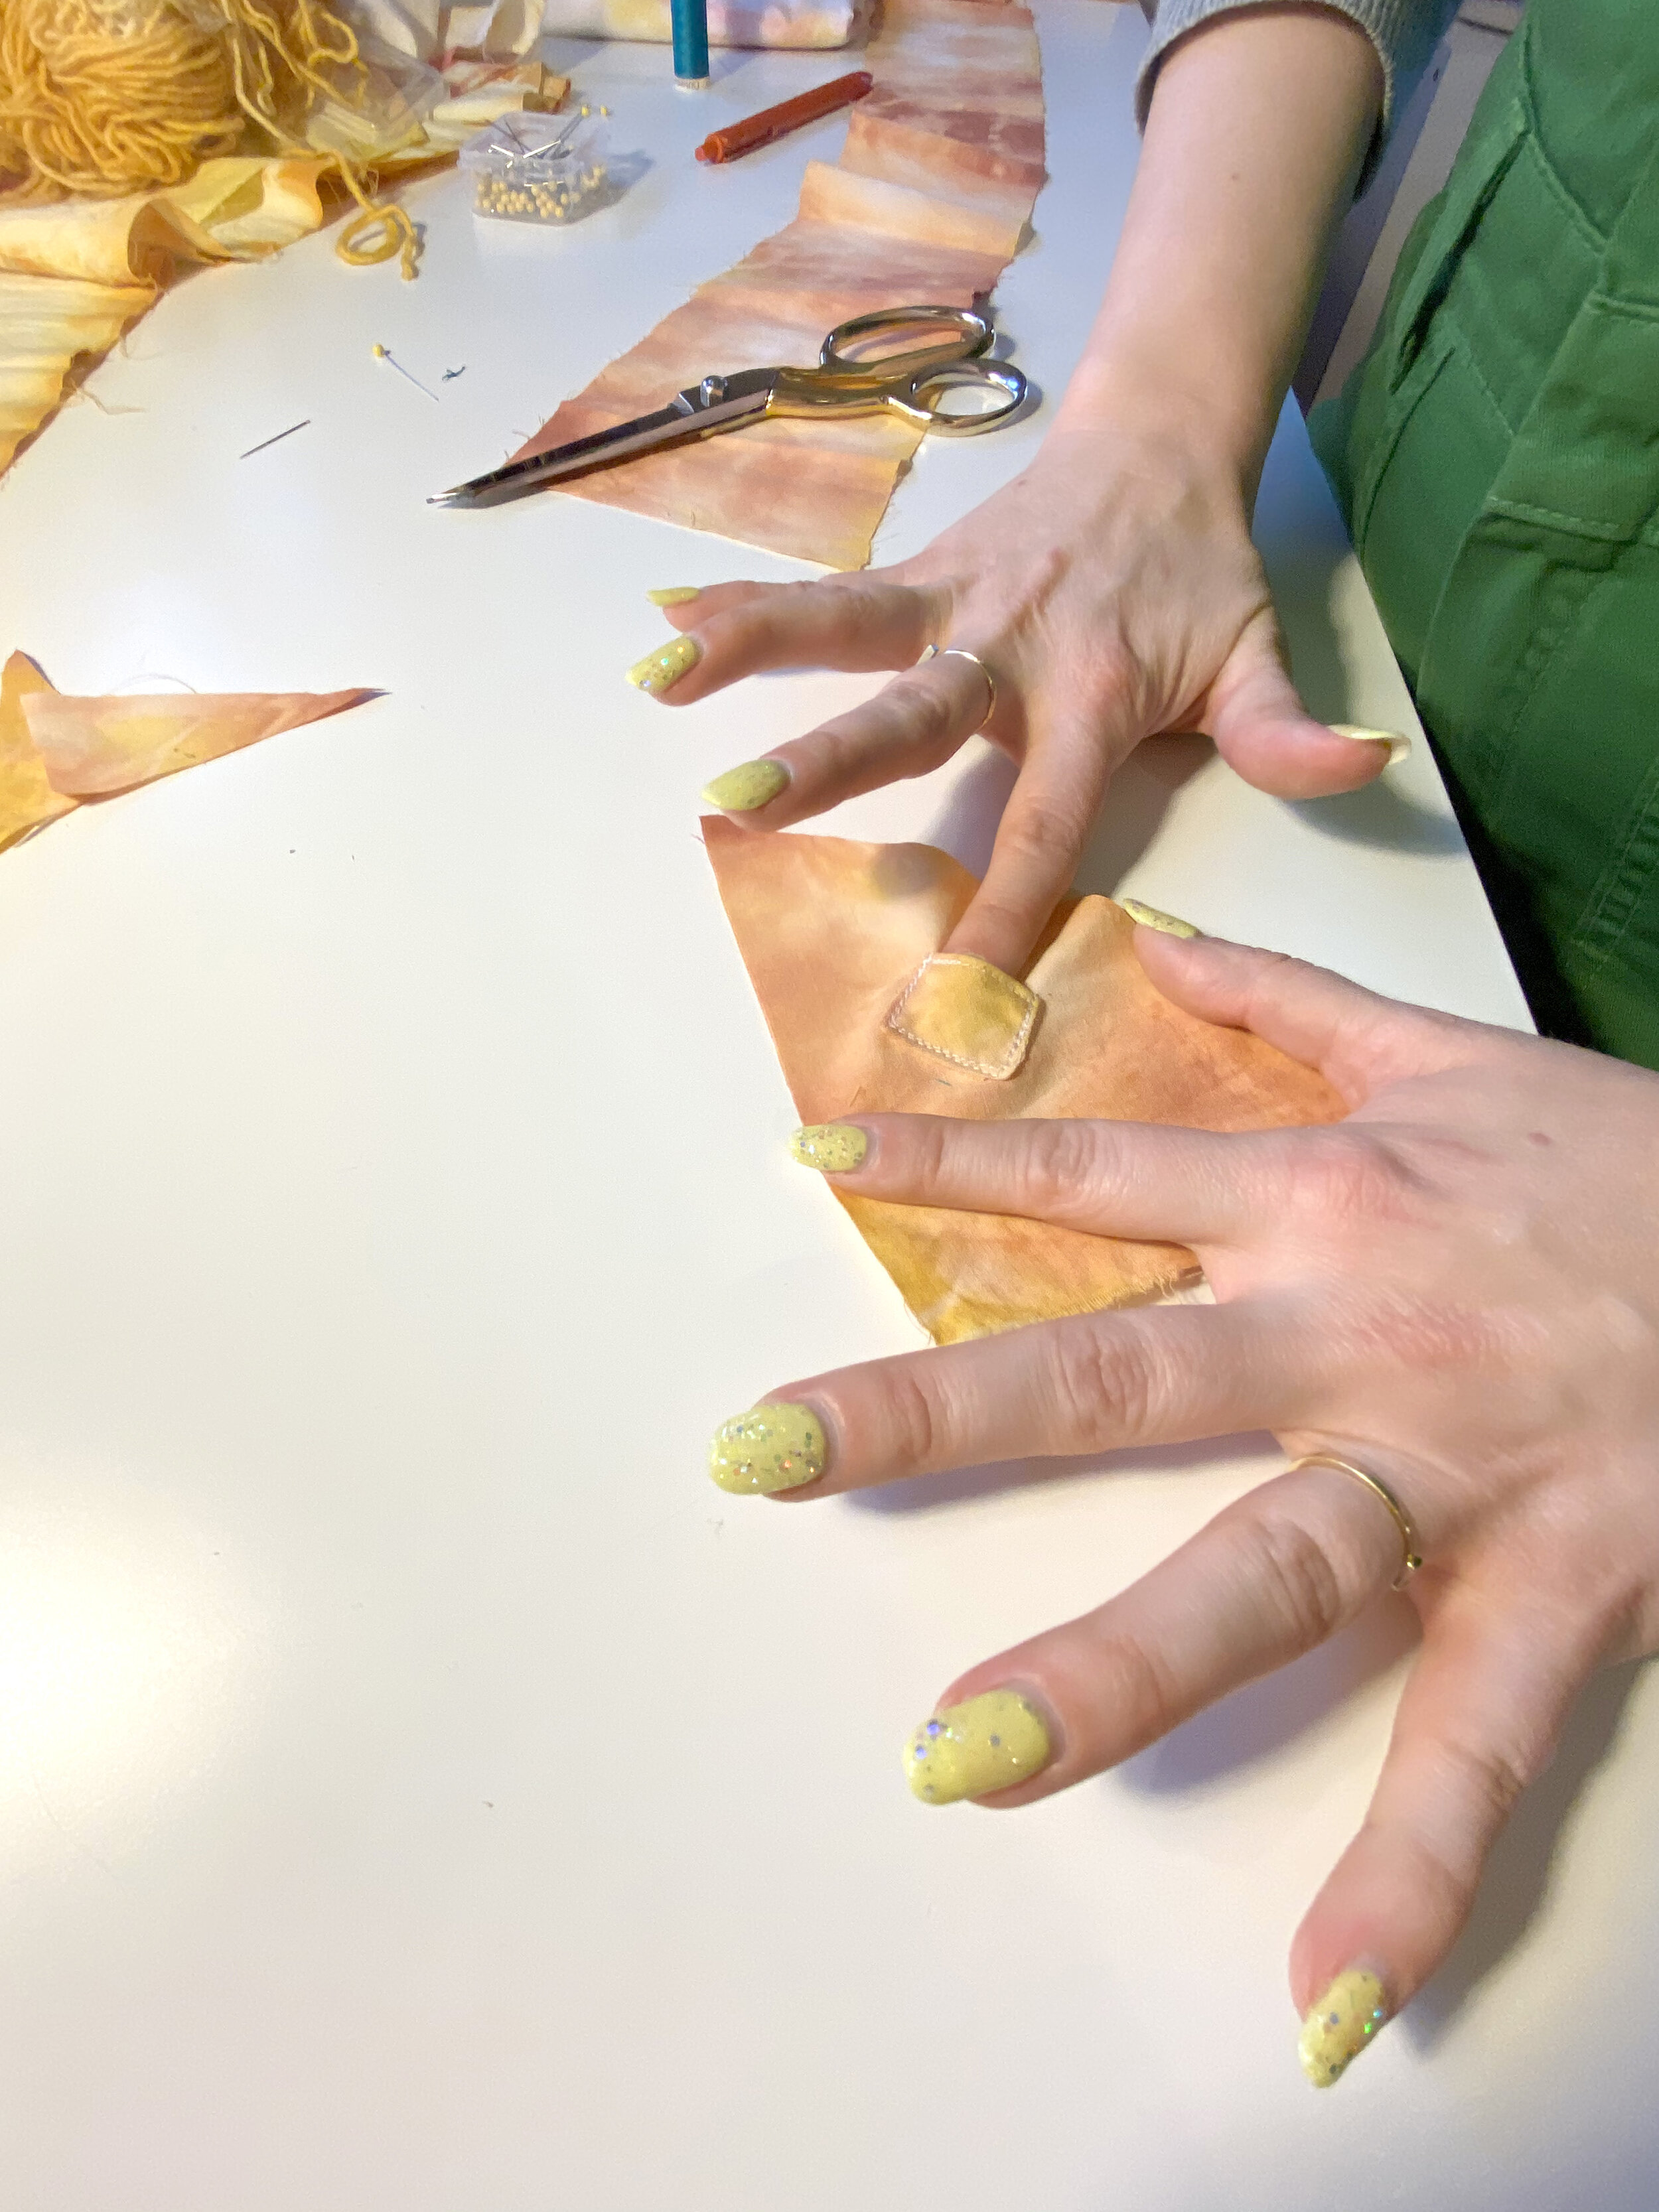
4. Fold the triangle so the pocket is on the inside. Sew the diagonal edges together.
5. At this point, you should have a cone with an opening at the top. Flip the cone inside out, using scissors or a pen to poke the bottom point out sharp to make the bottom of the carrot.
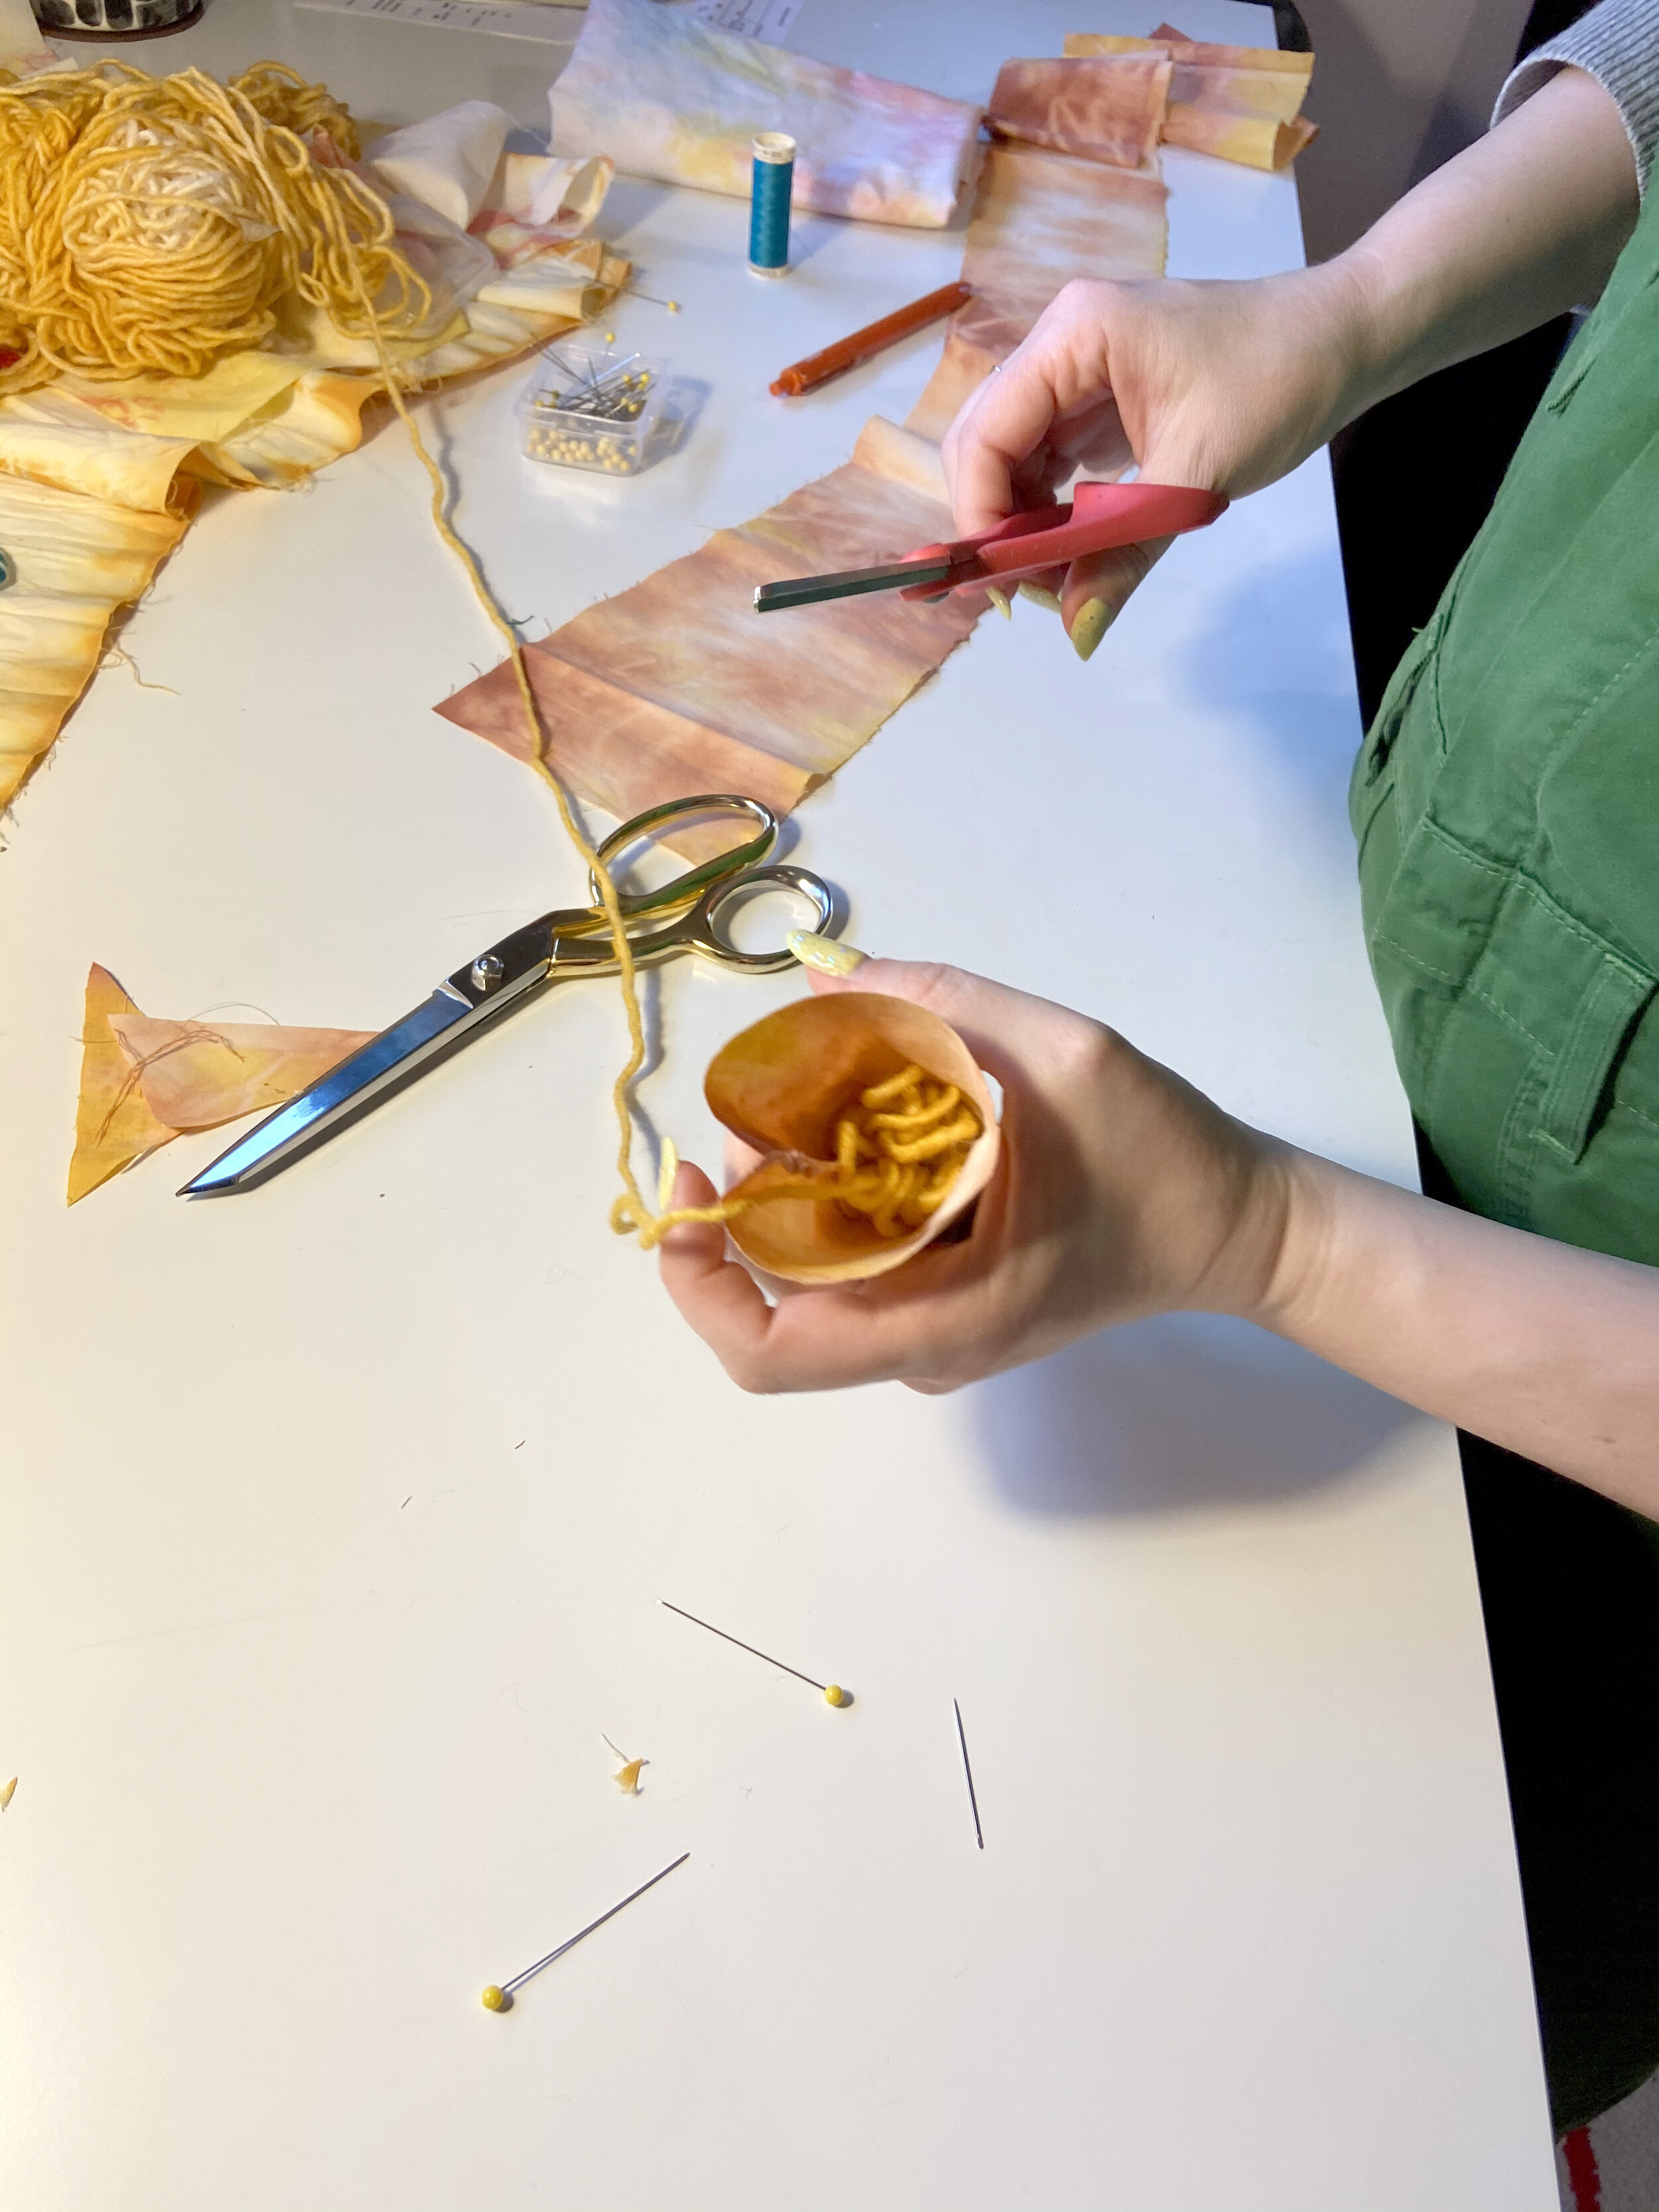
6. Stuff the carrot with more scrap fabric or yarn.
7. Wrap some yarn around your fingers to create some loops - this will become the “leafy” top of the carrot.
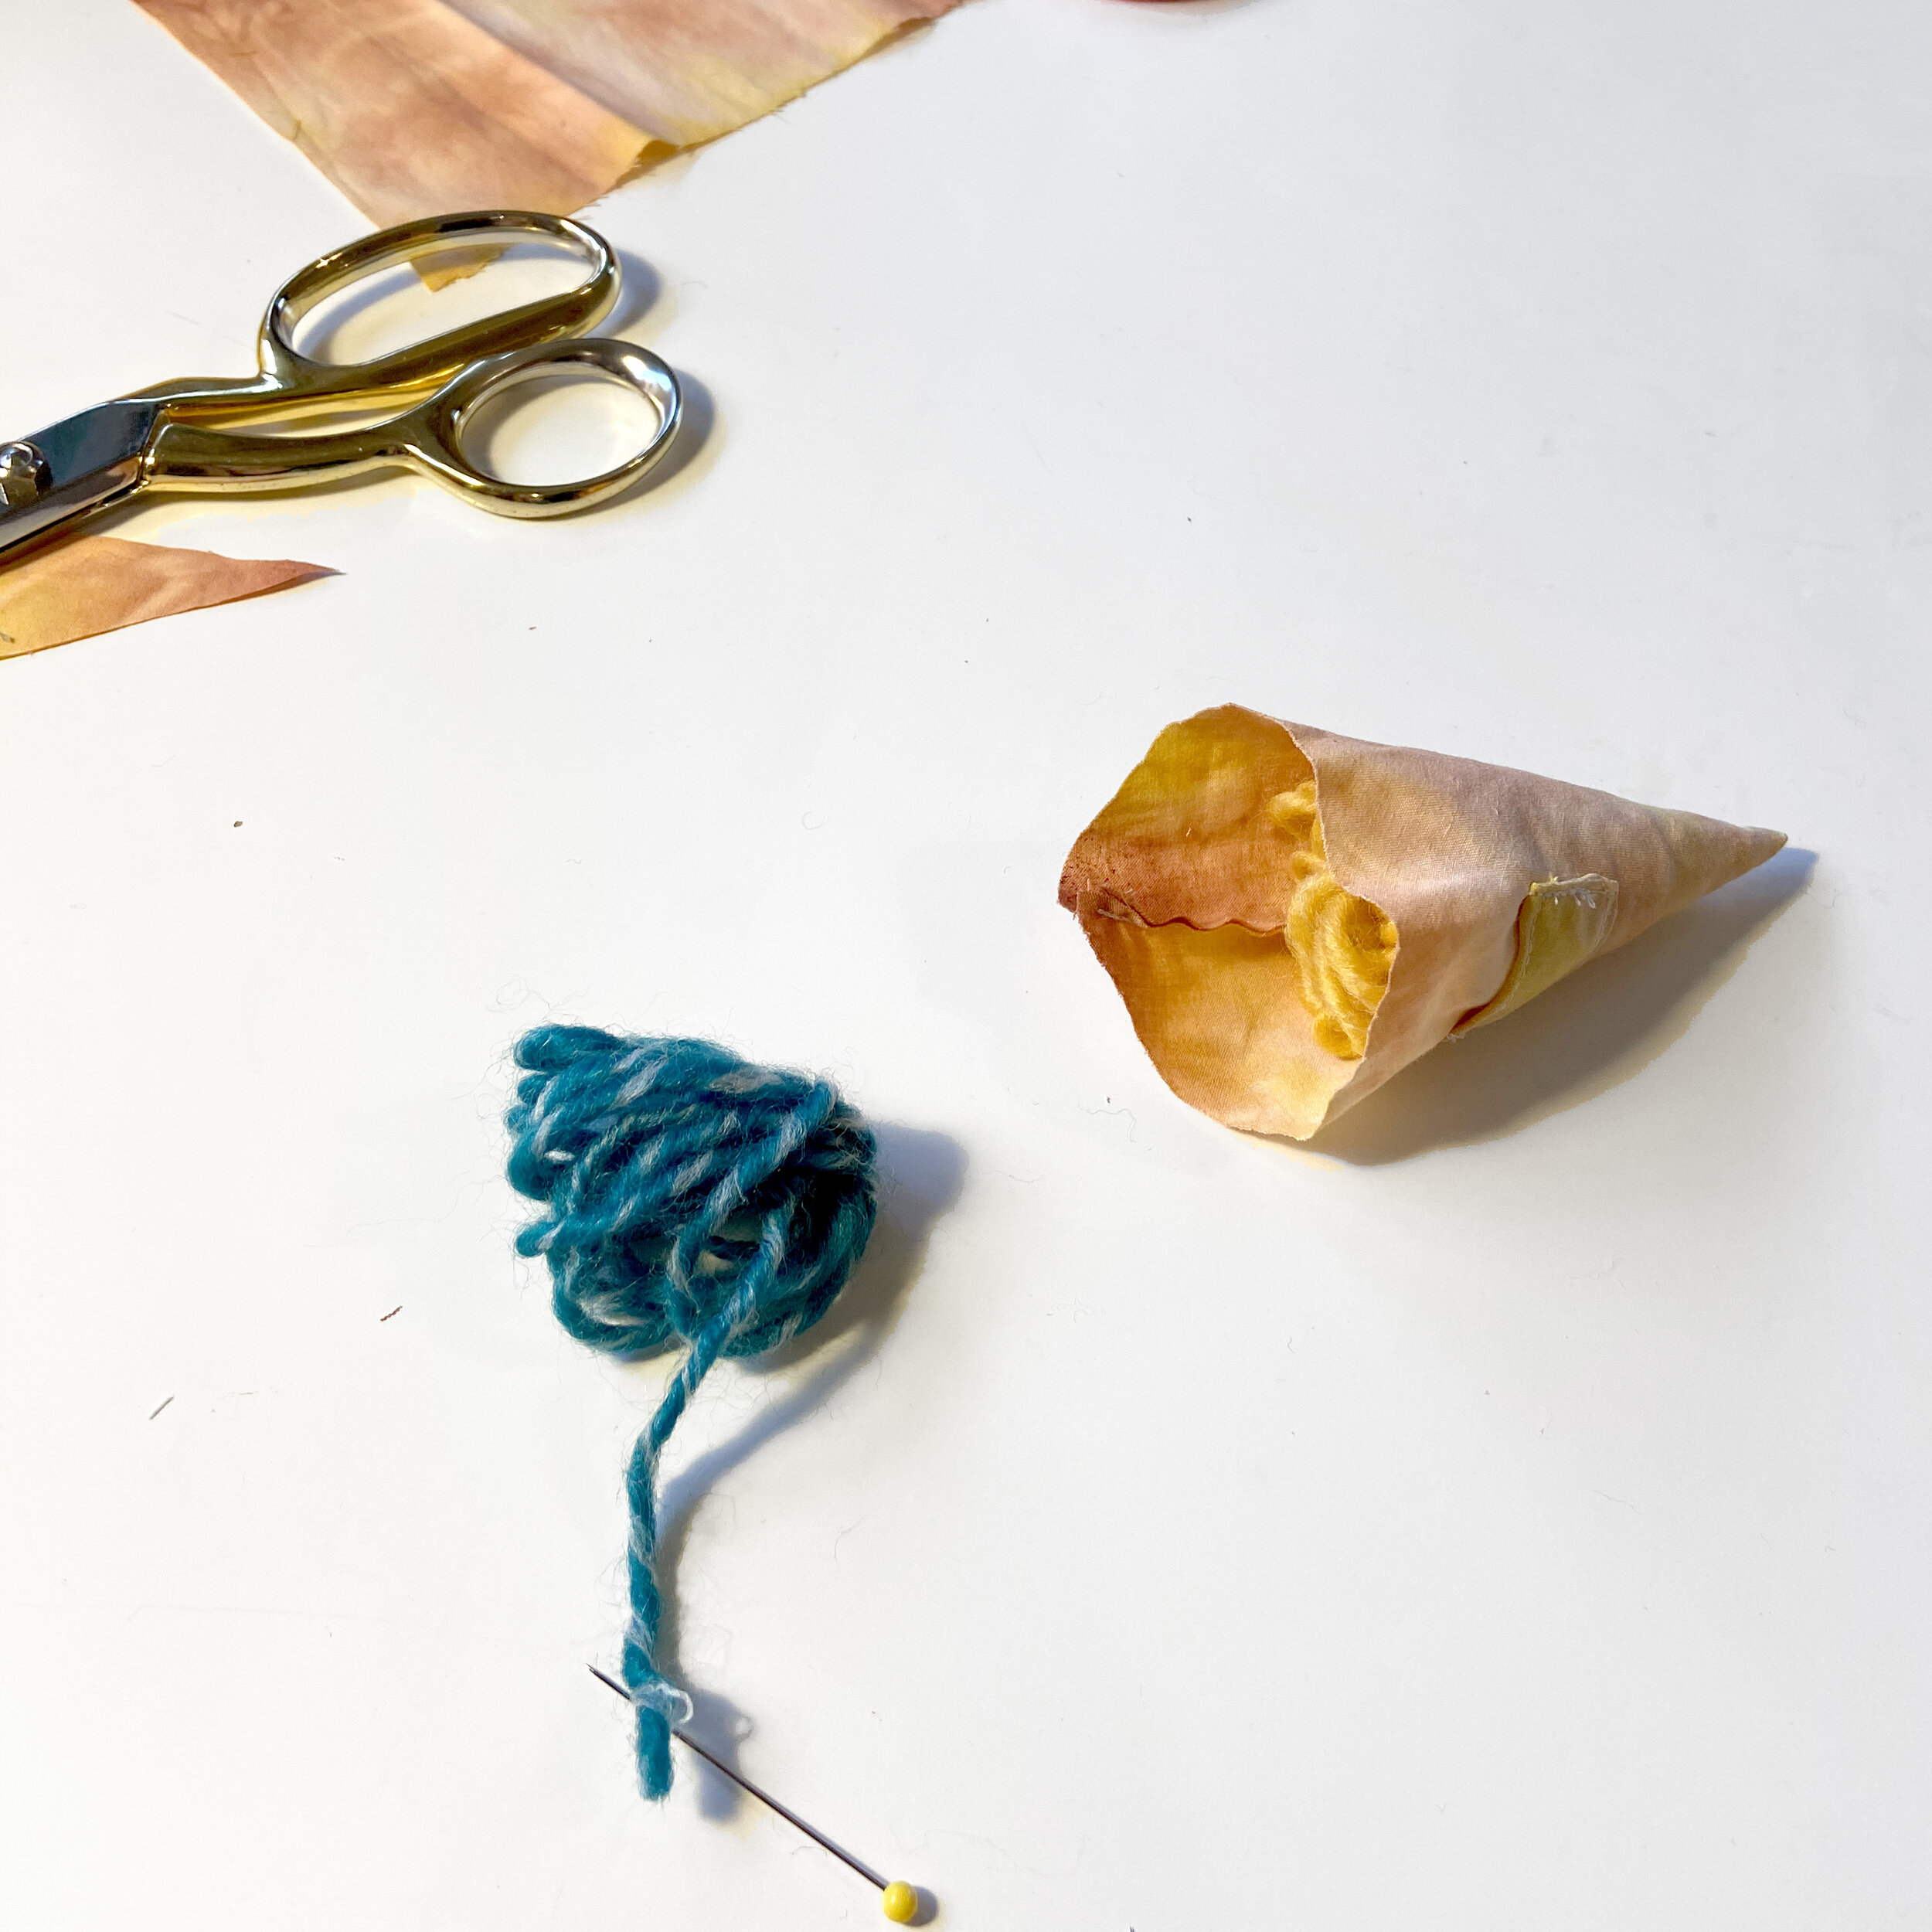
8. Stuff the bottom of your yarn loops into the opening at the top, then gather the fabric at the top around the yarn. Hand sew in a circle around the top of the carrot to gather it and secure the yarn to the top, trimming the fabric edges at the top if necessary.
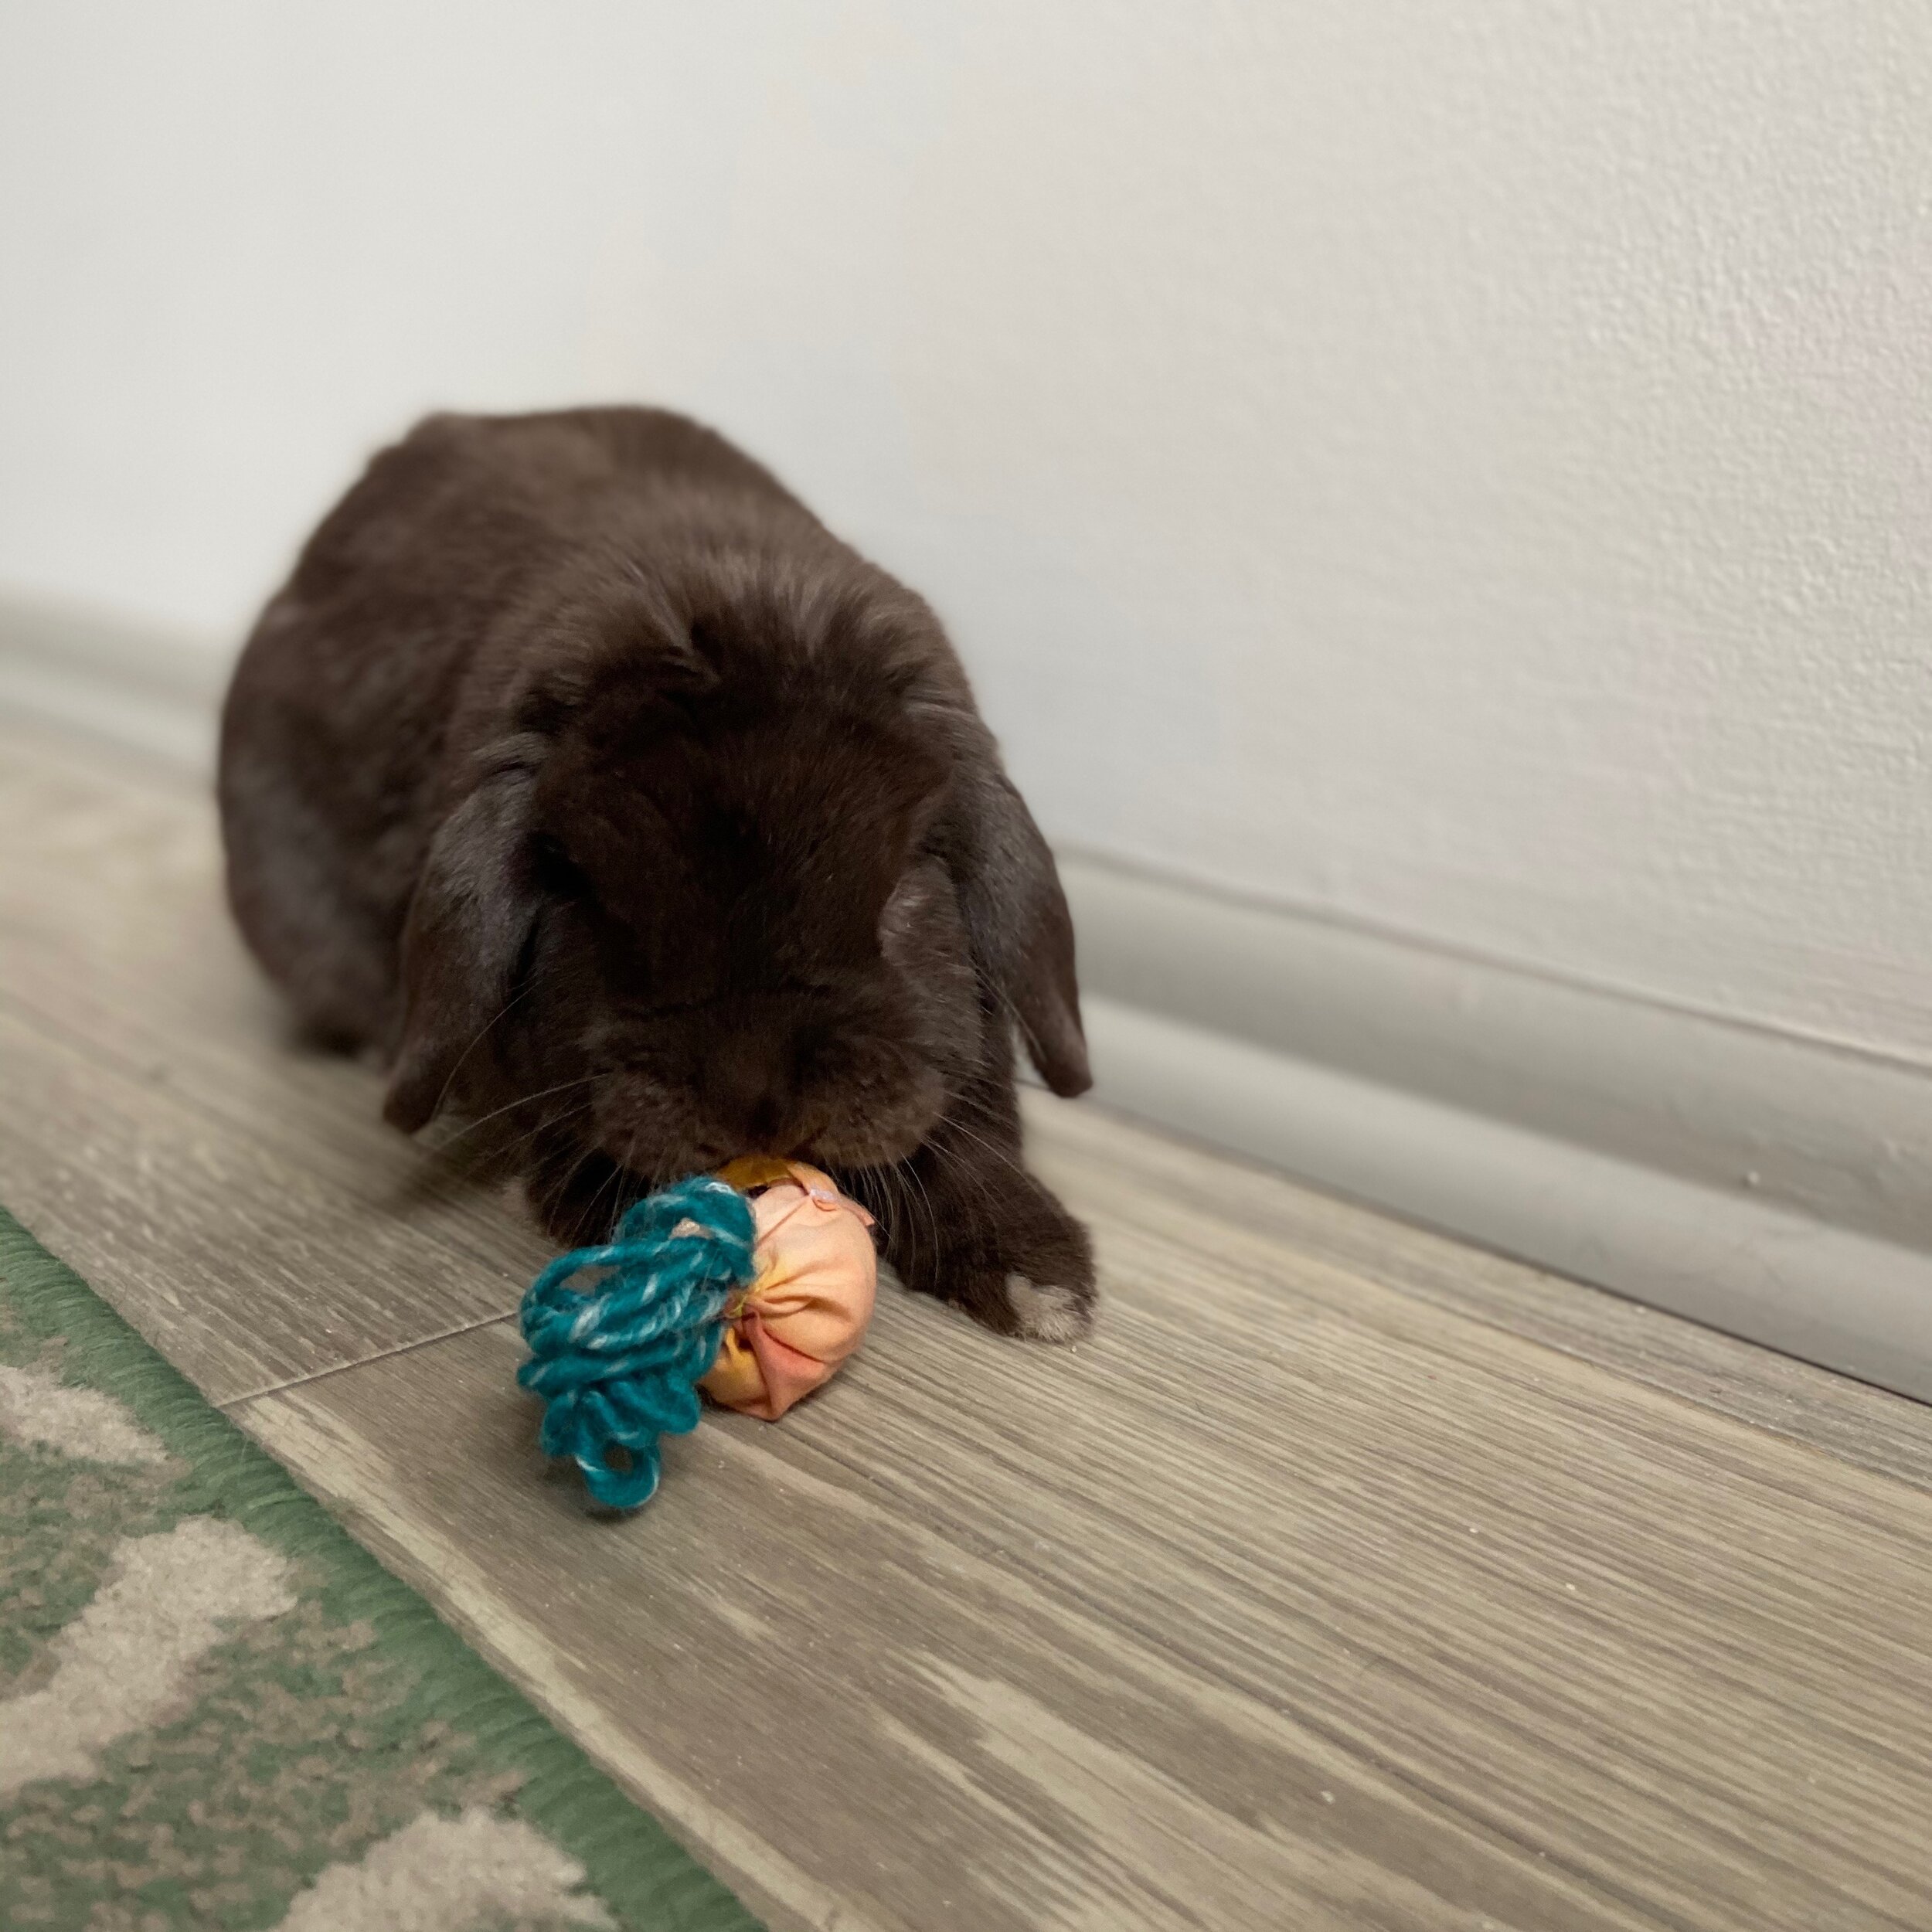
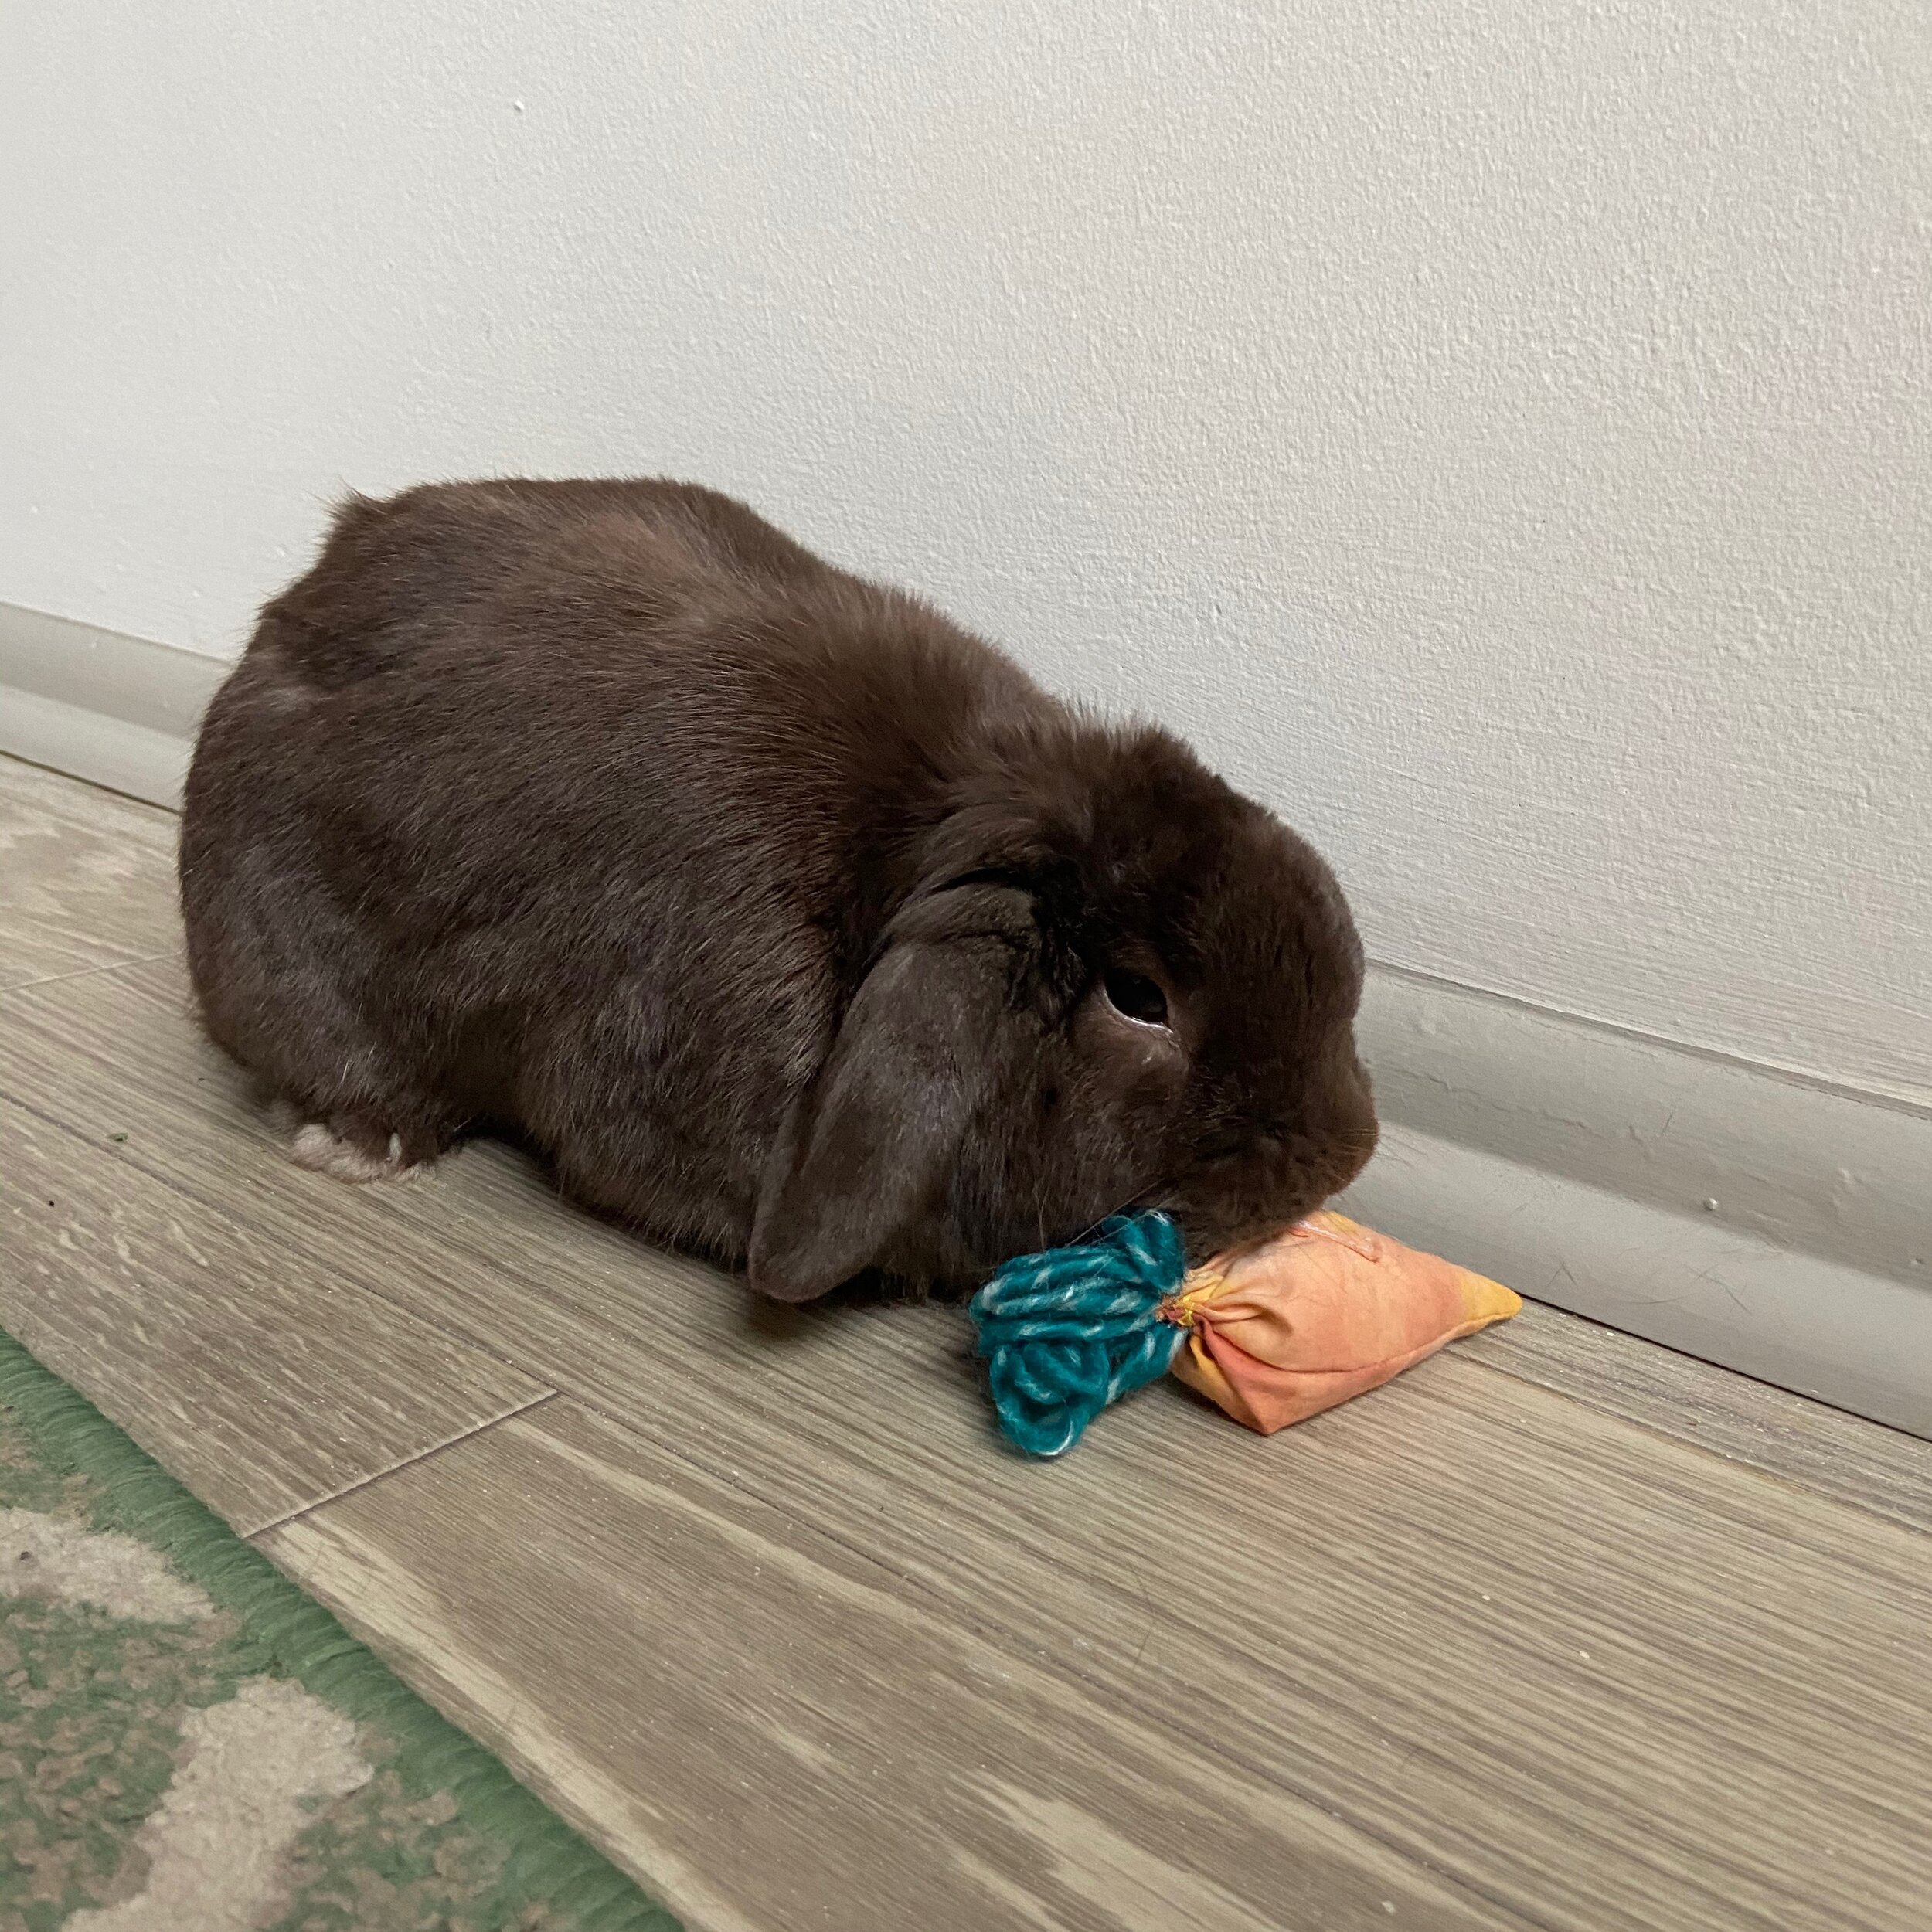
9. Add a treat to the pocket and then take approximately 472 photos of your bunny carrying it around for Instagram.
If you make these toys for your own cuddly critters, we’d love to see - tag us on Instagram @ShopColdGold to show us! Stay tuned for more quarantine friendly crafts and activities, and most importantly, please stay safe and well.